
How to Build a GraphQL Server with Deno

GraphQL is a popular approach to building APIs, since it makes it easy for developers to access only the data they need, saving bandwidth and reducing waterfall requests, which leads to better client performance.
In this tutorial we’re going to show you how to build a GraphQL API server with Deno.
You could also use Apollo with
npm specifiers
in this tutorial.
Note, however, that npm specifiers are not yet available on Deno Deploy.
Hello, World!
Let’s set up a “Hello, World!” example of GraphQL with Deno.
We’ll create an empty file called hello_world_server.ts and add our
dependencies.
import { Server } from "https://deno.land/std@0.166.0/http/server.ts";
import { GraphQLHTTP } from "https://deno.land/x/gql@1.1.2/mod.ts";
import { makeExecutableSchema } from "https://deno.land/x/graphql_tools@0.0.2/mod.ts";
import { gql } from "https://deno.land/x/graphql_tag@0.0.1/mod.ts";
We’ll see each of these in action below, but briefly:
Serverconstructs our HTTP serverGraphQLHTTPcreates the GraphQL HTTP middleware using the schema we specifymakeExecutableSchemacreates a schema based on our type definitions and resolversgqlcreates our type definitions
First, let’s setup the types and our resolver with gql:
const typeDefs = gql`
  type Query {
    hello: String
  }
`;
Here our Query type has a field “hello” that is a String. Once we have the
type, we need a resolver for that Query. Resolvers handle the functionality of
Queries and Mutations.
In this case, all we want our Query to do is print “Hello, World!”
const resolvers = {
  Query: {
    hello: () => `Hello, World!`,
  },
};
To work with our server, we need to combine our types and resolvers into a
schema. We can do that with makeExecutableSchema:
const schema = makeExecutableSchema({ resolvers, typeDefs });The schema object will then be passed to GraphQLHTTP, which is inside our main
HTTP server:
const server = new Server({
  handler: async (req) => {
    const { pathname } = new URL(req.url);

    return pathname === "/graphql"
      ? await GraphQLHTTP<Request>({
        schema,
        graphiql: true,
      })(req)
      : new Response("Not Found", { status: 404 });
  },
  port: 3000,
});
So the main wrapper is a new Server object. Within that we have a handler
that handles the request from the browser. We get the url, and if it includes
/graphql, we run the GraphQLHTTP middleware, passing in our schema and
setting graphiql as true (you can also do this without graphiql, using
either Postman/Insomnia or straight curl).
And if it’s not the /graphql page, return a 404 status and print out “Not
found”.
The final line will start the server on the port we assigned (3000) and listen:
server.listenAndServe();Run this with the --allow-net flag to make sure we have network access:
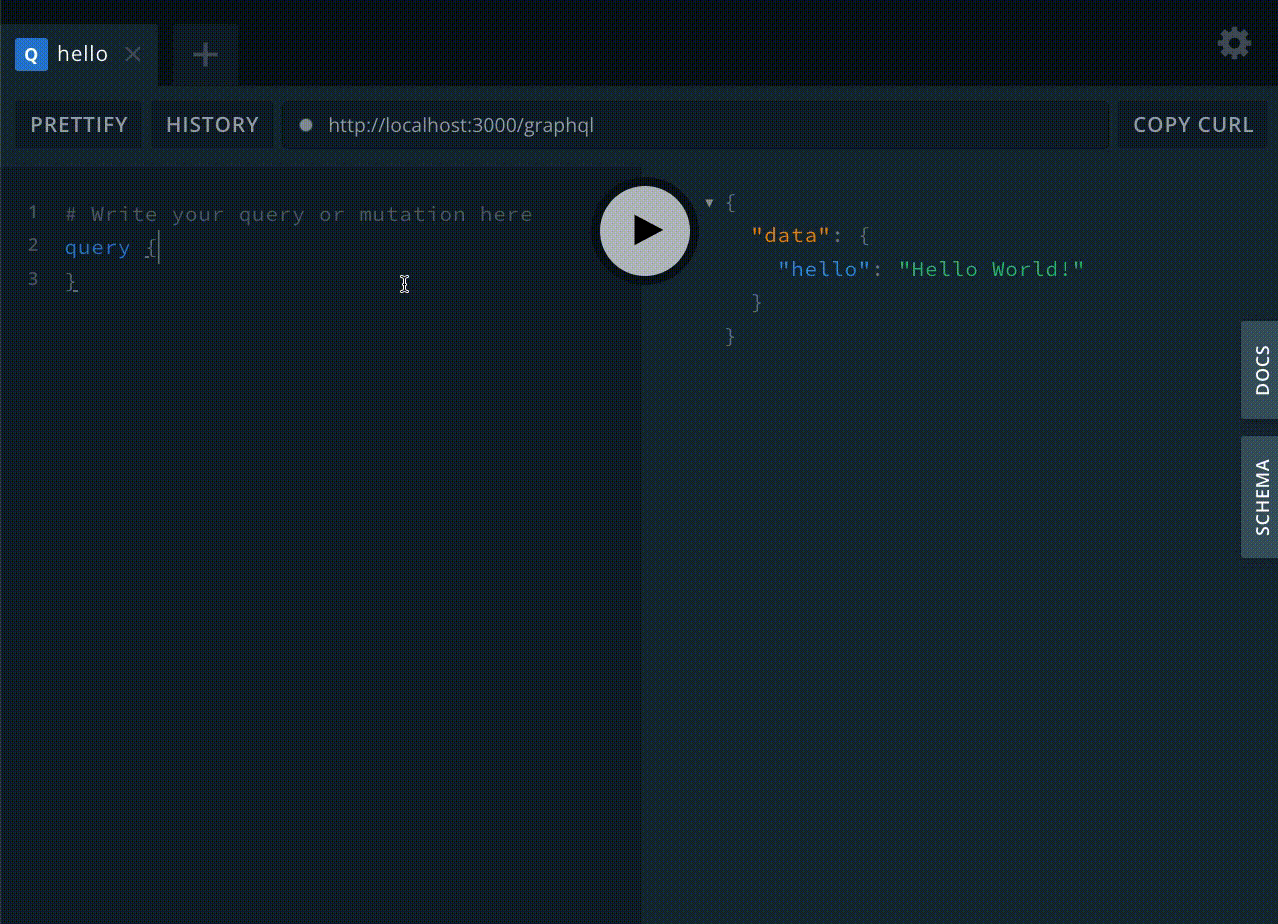
$ deno run --allow-net hello_world_server.tsIf we then go to localhost:3000/graphql we’ll see the graphiql interface:
Then you can run the query:
query {
  hello
}
And receive the response:
{
  "data": {
    "hello": "Hello World!"
  }
}
And just like that, you are GraphQLing!
Hello, (Prehistoric) World!
All well and good, but what makes GraphQL APIs so powerful is interacting with data. Let’s expand our example so that we can query our data, choose what response we receive, and insert data into our database.
So let’s set up a backend database and load it with some data that we can query and add to.
For our data store, we’ll use Postgres (you can set up a Postgres instance on Supabase by following our tutorial here → Connecting to Postgres).
Next, let’s add some extremely important data to our database: dinosaurs.json.
With the exception of adding a mutation (which is how you add data in GraphQL), there is very little to change from our “Hello, World!” to get this working. But we are going to refactor our code to keep our project a little tidier.
First, we’ll create the a typedefs.ts file and move our types there, along
with the gql import:
import { gql } from "https://deno.land/x/graphql_tag@0.0.1/mod.ts";

export const typeDefs = gql`
  type Query {
    allDinosaurs: [Dinosaur]
    oneDinosaur(name: String): Dinosaur
  }

  type Dinosaur {
    name: String
    description: String
  }

  type Mutation {
    addDinosaur(name: String, description: String): Dinosaur
  }
`;
We now have a few more types to define:
- Our two Queries are
allDinosaursandOneDinosaur.allDinosaursreturns a list (denoted by the square brackets).OneDinosaurreturns oneDinosaur. Dinosauris the object we return from our Queries, which contains a String name and description.addDinosauris our Mutation to add aDinosaurwith a name and description to our database.
We’ll also move our Query and Mutation resolvers out to resolvers.ts as these
now contain more functionality. resolvers.ts is also where we’re going to
connect to Postgres.
So we first need to import our Postgres library:
import * as postgres from "https://deno.land/x/postgres@v0.14.2/mod.ts";Then we can build our connect function to Postgres:
const connect = async () => {
  // Get the connection string from the environment variable "DATABASE_URL"
  const databaseUrl = Deno.env.get("DATABASE_URL")!;

  // Create a database pool with three connections that are lazily established
  const pool = new postgres.Pool(databaseUrl, 3, true);

  // Connect to the database
  const connection = await pool.connect();
  return connection;
};
We can access environment variables with
Deno.env.get() (we’ll use the
--allow-env flag to enable access to the environment variables for Postgres).
Here, our DATABASE_URL is the stored Postgres connection string. Then, we
create a pool of connections and connect to the database.
Then we can define our Query and Mutation functions. We’ll create two Query
functions, one to get a list of all the dinosaurs in our database
(allDinosaurs), and another to get just one by name (oneDinosaur):
const allDinosaurs = async () => {
  const connection = await connect();
  const result = await connection.queryObject`
          SELECT name, description FROM dinosaurs
        `;
  return result.rows;
};

const oneDinosaur = async (args: any) => {
  const connection = await connect();
  const result = await connection.queryObject`
          SELECT name, description FROM dinosaurs WHERE name = ${args.name}
        `;
  return result.rows;
};
allDinosaurs connects to the database and returns a list of all the
Dinosaurs therein. oneDinosaur is similar but:
- it takes an argument, which will be the name of the
Dinosaurwe want - it uses that argument name to query the database for just that
Dinosaur
We also have a Mutation function to add a Dinosaur to the database:
const addDinosaur = async (args: any) => {
  const connection = await connect();
  const result = await connection.queryObject`
            INSERT INTO dinosaurs(name, description) VALUES(${args.name}, ${args.description}) RETURNING name, description
        `;
  return result.rows[0];
};
Once we have all the functions in place, we can reference them within our resolvers:
export const resolvers = {
  Query: {
    allDinosaurs: () => allDinosaurs(),
    oneDinosaur: (_: any, args: any) => oneDinosaur(args),
  },
  Mutation: {
    addDinosaur: (_: any, args: any) => addDinosaur(args),
  },
};
With the resolvers and type definitions out of the main file (which we’ll rename
to server.ts), we need to import them into that file, but the rest of
server.ts can remain the same:
import { Server } from "https://deno.land/std@0.166.0/http/server.ts";
import { GraphQLHTTP } from "https://deno.land/x/gql@1.1.2/mod.ts";
import { makeExecutableSchema } from "https://deno.land/x/graphql_tools@0.0.2/mod.ts";
import { resolvers } from "./resolvers.ts";
import { typeDefs } from "./typedefs.ts";

const schema = makeExecutableSchema({ resolvers, typeDefs });

const server = new Server({
  handler: async (req) => {
    const { pathname } = new URL(req.url);

    return pathname === "/graphql"
      ? await GraphQLHTTP<Request>({
        schema,
        graphiql: true,
      })(req)
      : new Response("Not Found", { status: 404 });
  },
  port: 3000,
});

server.listenAndServe();
When we run server.ts this time, we’ll also need the --allow-env flag to let
Postgres work properly:
deno run --allow-net --allow-env server.tsIf we go to localhost:3000/graphql, we’ll see the graphiql interface like
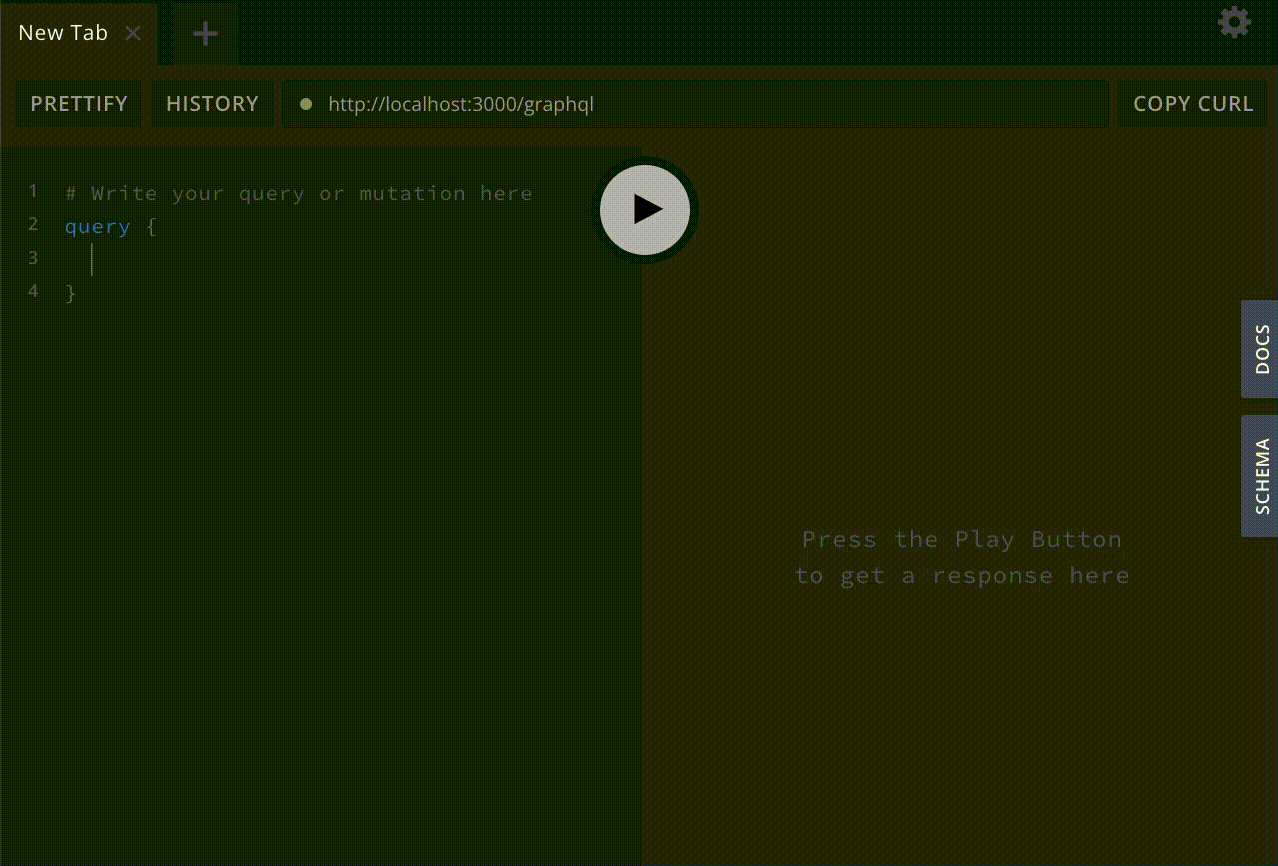
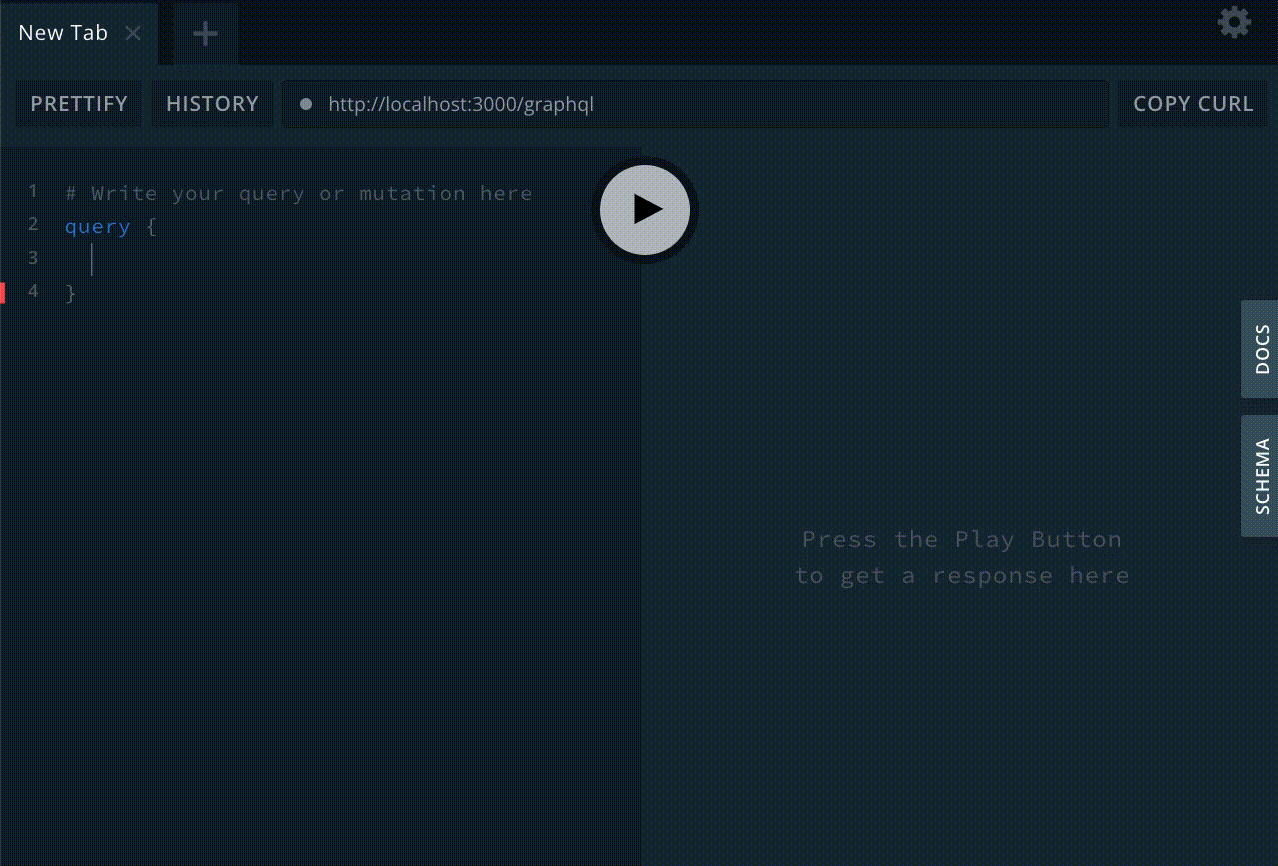
before, but this time, the autocomplete will have the options for our new
Queries and Mutation, such as querying allDinosaurs:
query {
  allDinosaurs {
    name
    description
  }
}
This will generate a list of all the Dinosaurs in the database:
Remember, one of the fly things about GraphQL is that the end user can choose
what data they want to request. In this case, we could just choose to only
retrieve names:
We can also run the oneDinosaur Query to get just one dinosaur:
query {
  oneDinosaur(name:"Aardonyx") {
    name
    description
  }
}
Finally, we can add a dinosaur with addDinosaur:
mutation {
  addDinosaur(name:"Deno",description:"the fastest Deno in the world") {
    name
    description
  }
}
We supply the name and description, but we can also ask for the name and description back from the API, to check that the Dinosaur was added:

To be doubly sure, we can also use oneDinosaur again:

What’s next?
This server shows a basic implementation of GraphQL with Deno, but there is a ton more you can do like defining more types, queries, and relationships between your data. For example, here every dinosaur is independent, but we could add a Clade type to our definitions entries and show how Aardonyx is related to the Seitaad and the Sefapanosaurus.
We can also build out a frontend to use this data. To see what that looks like, check out our How to Build an E-commerce Site with a Perfect Lighthouse Score to see how we use the Shopify GraphQL API in our merch store.
Let us know on Twitter or on our Discord what else you want to learn to do with Deno.