If you're not using npm specifiers, you're doing it wrong

During the early days of Deno, we recommended importing npm packages via HTTP
with transpile services such as esm.sh and
unpkg.com. However, there are limitations to importing npm
packages this way, such as lack of install hooks, duplicate dependency
resolution issues, loading data files, etc. That’s why after native npm support
was added with the release of Deno 2, we recommend using npm: specifiers
directly.
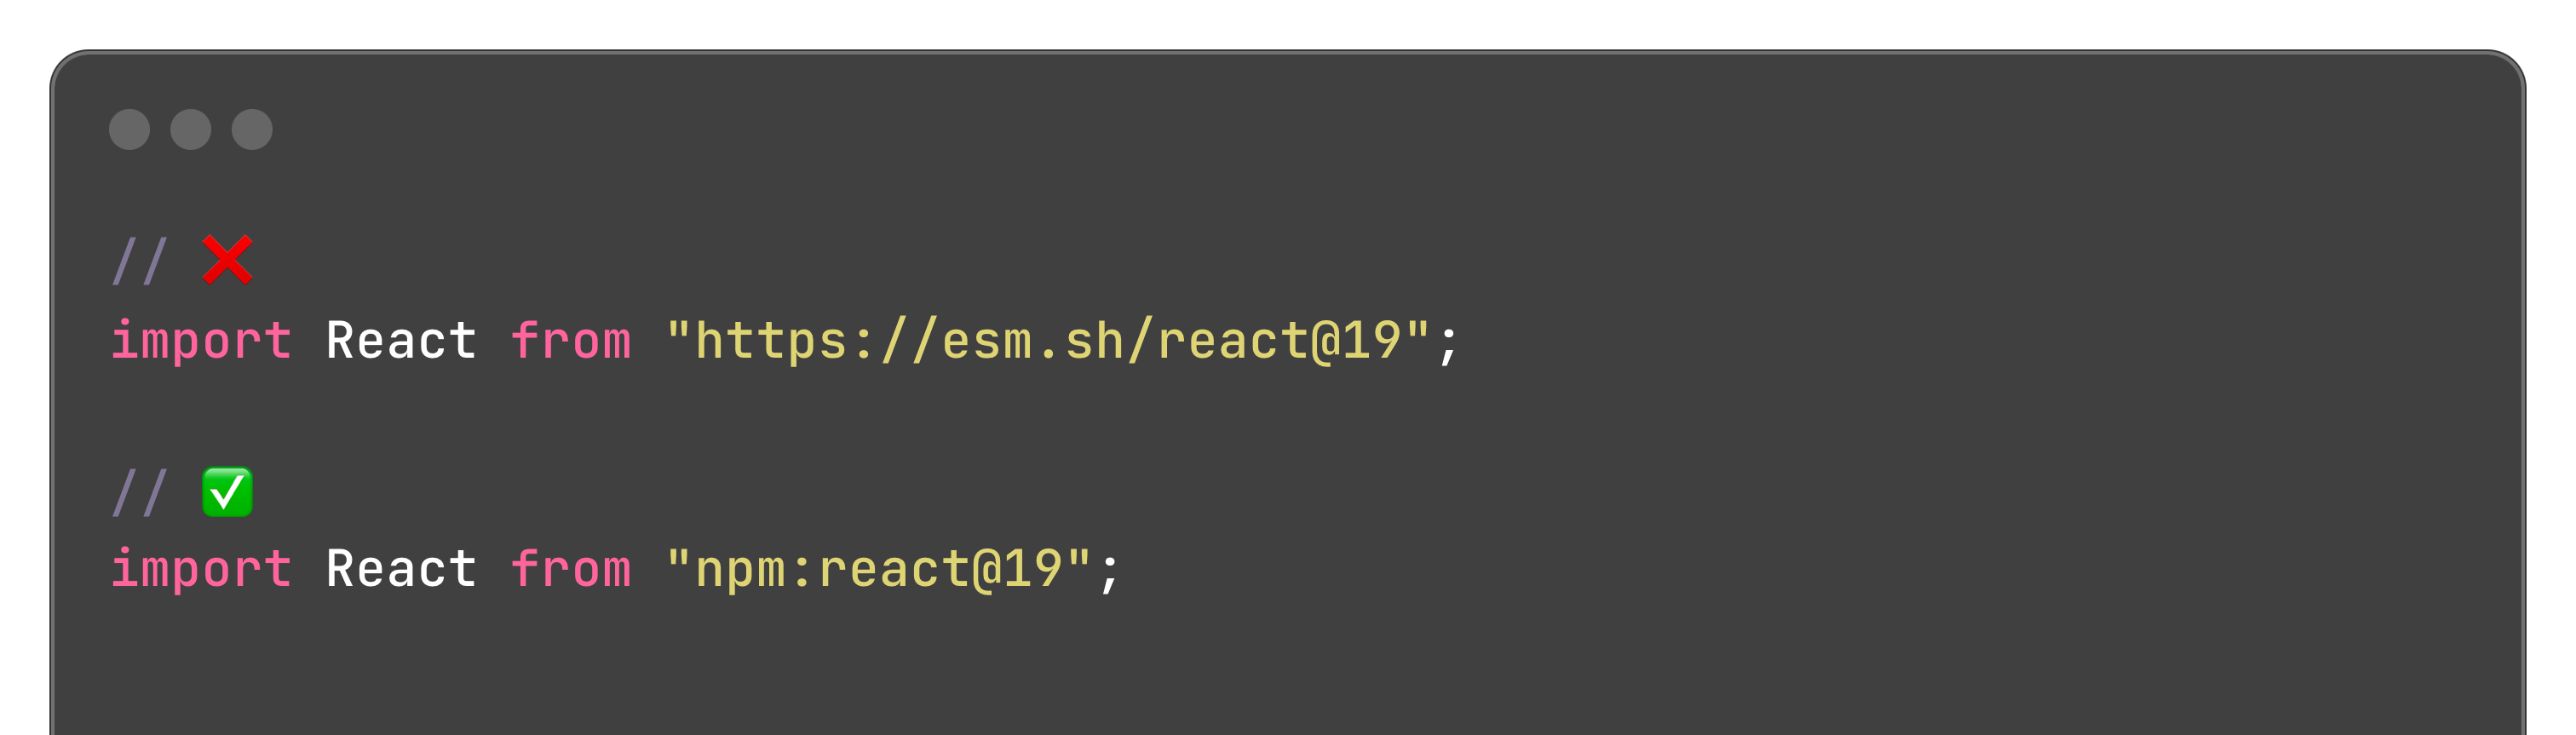
// ❌
import React from "https://esm.sh/react@19";

// ✅
import React from "npm:react@19";
In this blog post, we’ll cover the limitations from using npm via these transpile services, as well as all the benefits to natively importing npm packages:
🚨️ Try Deno 2 today. 🚨️
Deno offers backwards compatibilty with Node/npm, built-in package management, all-in-one zero-config toolchain, native TypeScript support, and more.
Limitations of hosted transpile services
Duplicate dependency issues
When you import https://esm.sh/react and https://esm.sh/react-dom, the
latter dependency might import a duplicate react version:
import react from "https://esm.sh/react";
import reactDom from "https://esm.sh/react-dom"; // <-- no guarantee that this is the same react version
And while there are some ways to manage this via special esm.sh URL flags, they can be tedious and fiddly. Importing from esm.sh lacks semantic versioning, making it hard to dedup dependencies.
Conversely, importing from npm natively via npm: specifiers allows Deno to
understand semantic versions of your dependencies. This is just like using npm
with Node and will work as expected. This means smaller module graph and smaller
number of loaded modules.
No install hooks and native add-ons
Some npm packages require native add-ons to be compiled at install time. When
importing natively with npm, install hooks will run an install script that calls
node-gyp to build the add-on.
Unfortunately, there are no install hooks when importing npm packages via HTTP, so some of these npm packages that require a separate install step can not be fully installed.
Deno’s native npm support allows install hooks to run with
the --allow-scripts flag:
deno install --allow-scripts=npm:duckdbNo data files
Certain npm packages ship with non-JavaScript files, such as text files, csv, json, etc., which it will load at runtime. However, these transpile services are unable to serve a compatible version, which results in unusual errors and an overall subpar developer experience.
Importing npm packages natively in Deno is the same as importing in Node — data files are downloaded and can be accessed from the module at runtime, which is the expected behavior.
Benefits of natively importing npm packages
No node_modules
Programming is a battle against complexity. Any superfluous code, config, folders, processes, etc. can divert focus and mindshare from critical business logic. This is why Deno is zero config (with sane defaults) and has a complete built-in toolchain so you can dive right into writing code.
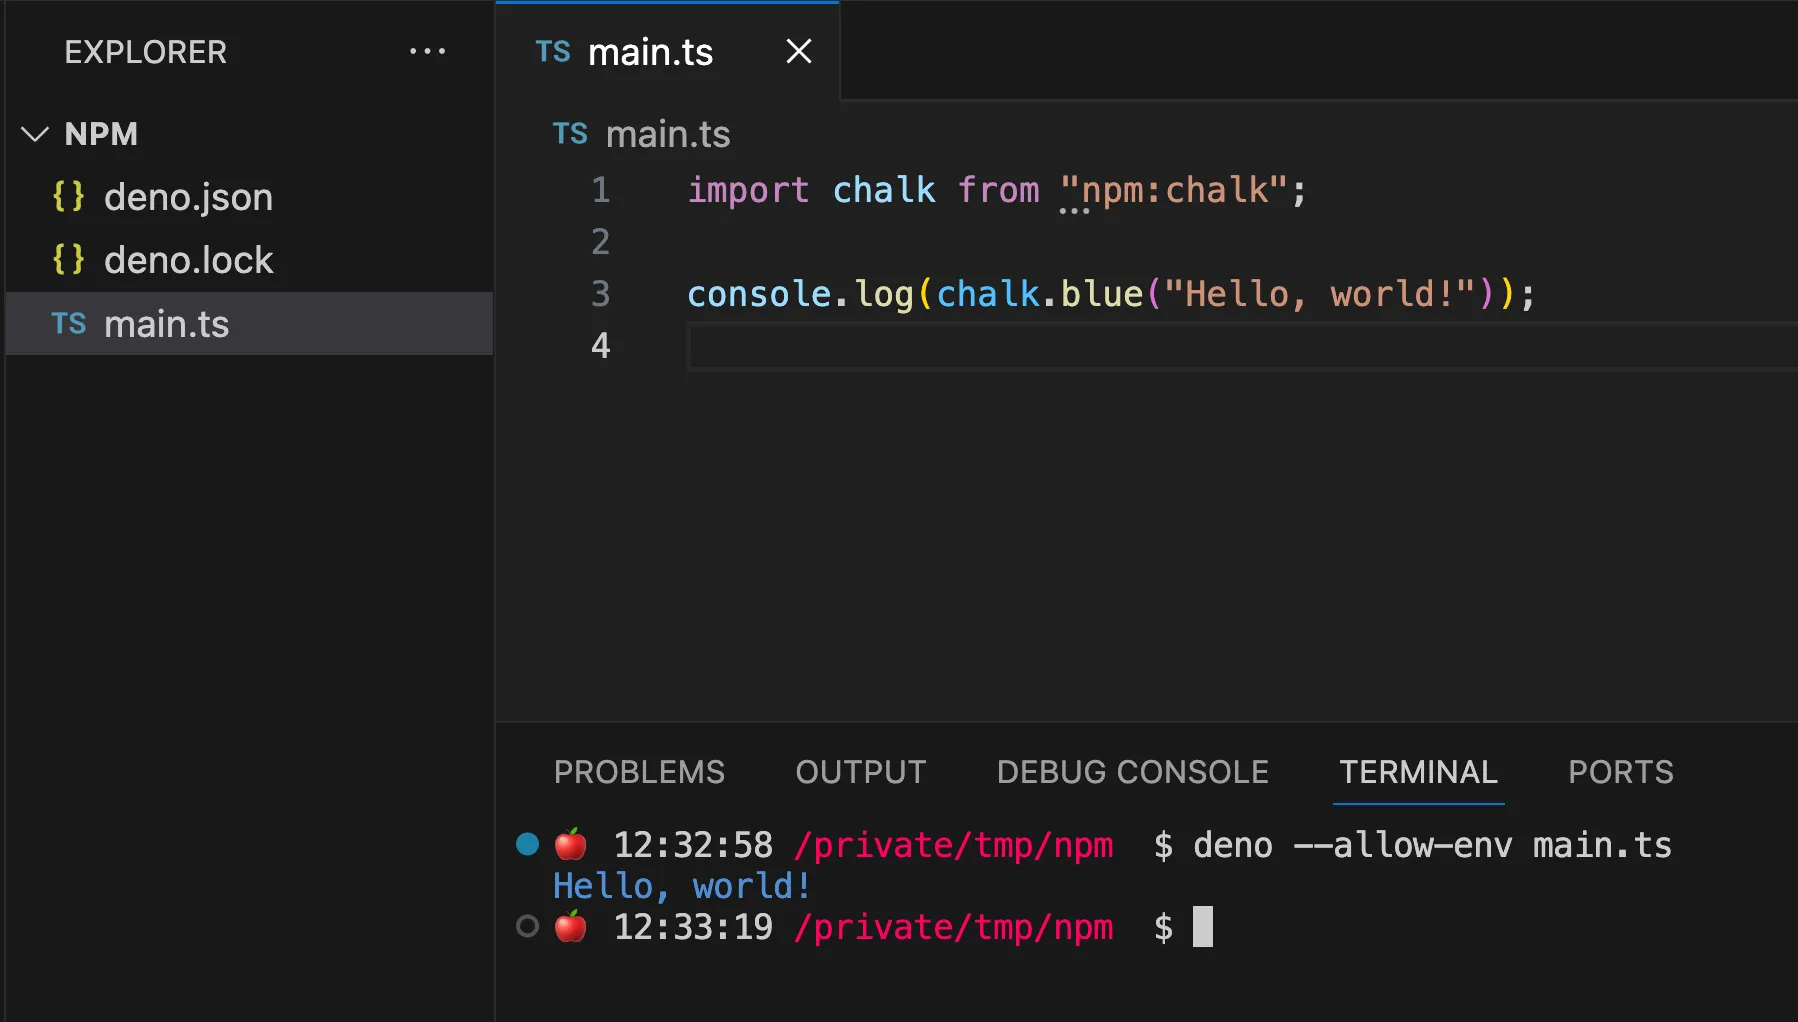
You can use npm: specifiers with Deno to install npm packages without needing
to create a node_modules folder in your directory. This is beacuse
Deno will then install your npm package to your global cache:
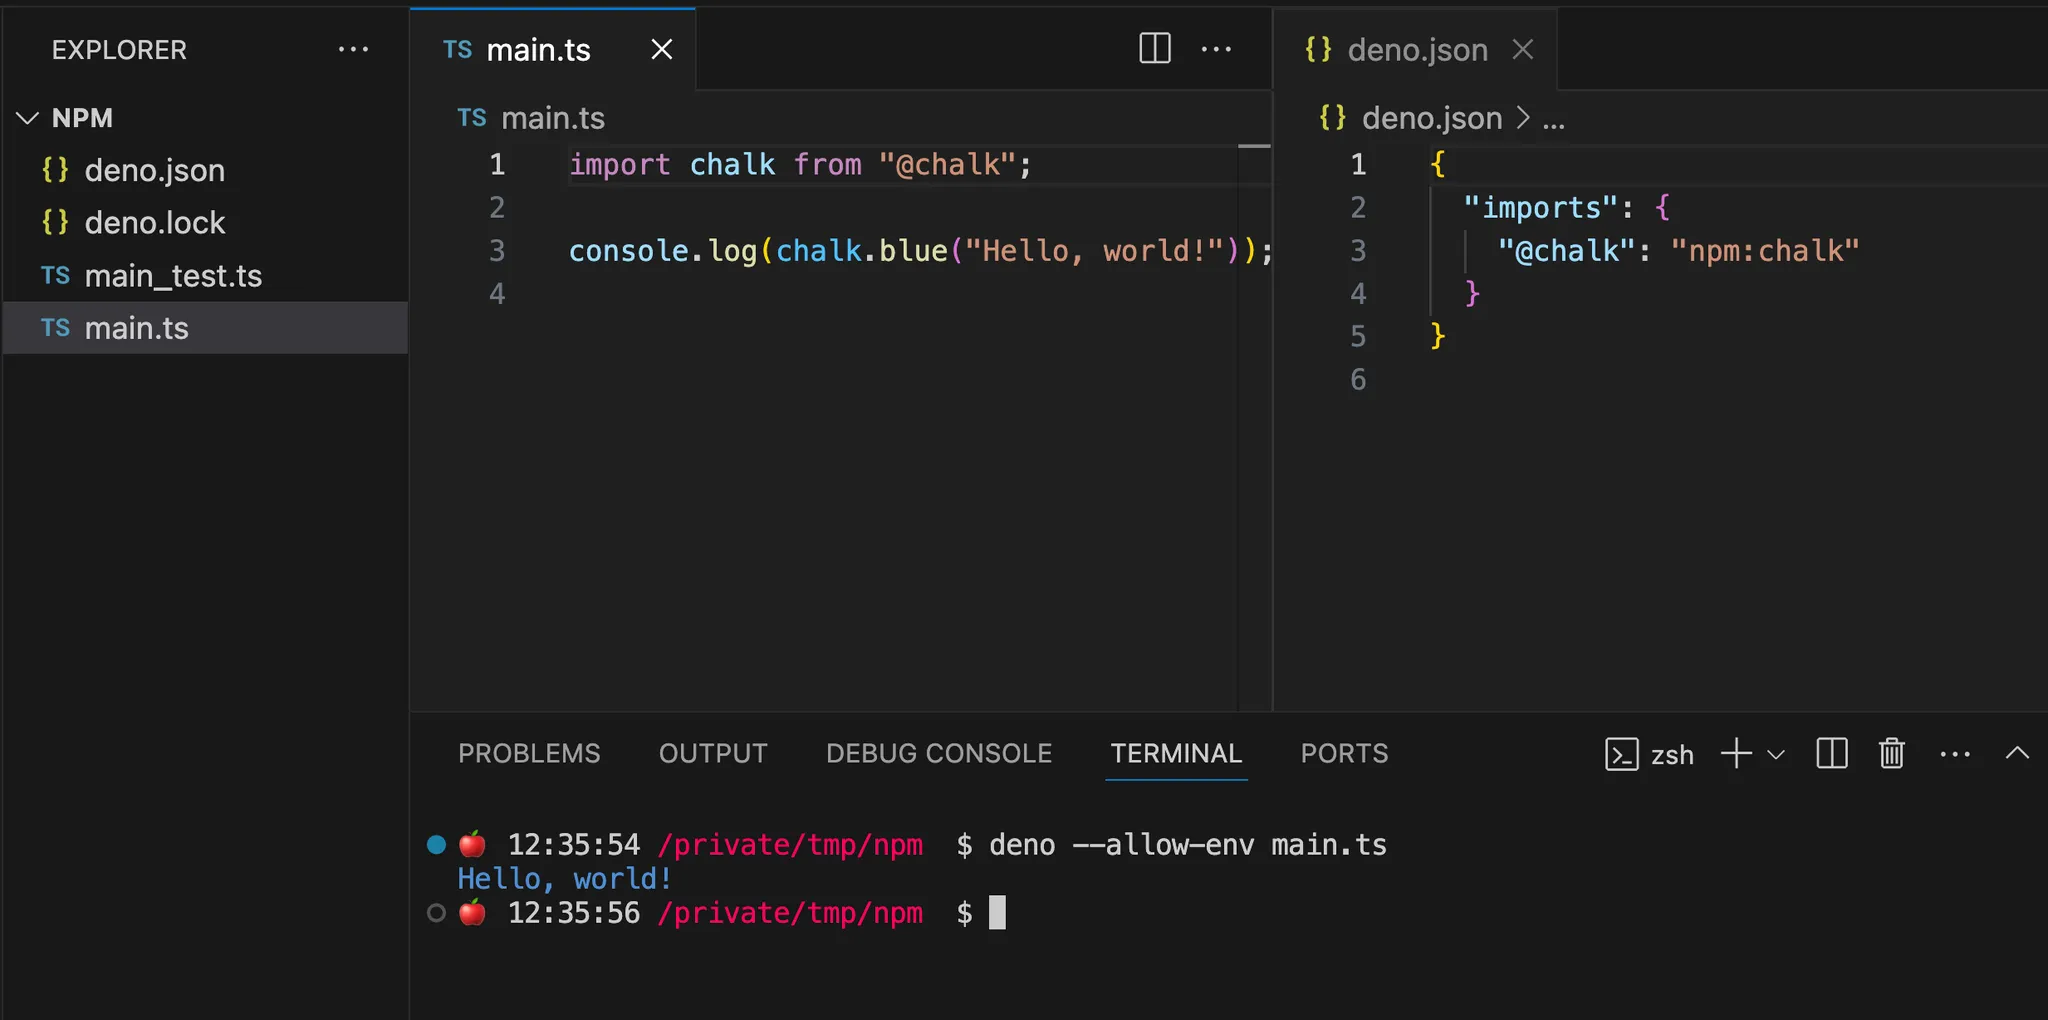
You can even use npm: specifiers in your deno.json :
Note that if you have a package.json present, Deno will automatically default
to creating a node_modules folder, as many npm packages expect and require it.
However, you can control whether a node_modules is created with
the nodeModulesDir attribute in your deno.json
.
No package.json
Sometimes you want to write a simple JavaScript or TypeScript program, and run it and share it without extra code or steps.
In Node, package.json is the dependency manifest, and is necessary to
accompany your program if you have any dependencies. If you were to share your
program with someone else, they would need the package.json, as well as use an
extra step to install these dependencies, before they can run your program.
In Deno, you can inline npm: specifiers in your import statement (as well as
package versions) so you don’t need package.json at all. You can share your
code by sharing your JS or TS file. If someone else runs it with Deno, Deno will
automatically download the correct dependencies, and your program will run the
same way as it did on your machine. Fewer files, steps, and frustrations.
In fact, treating single file scripts without dependency manifests as “immutable scripts” can lead to creating ecosystems of composable programs.
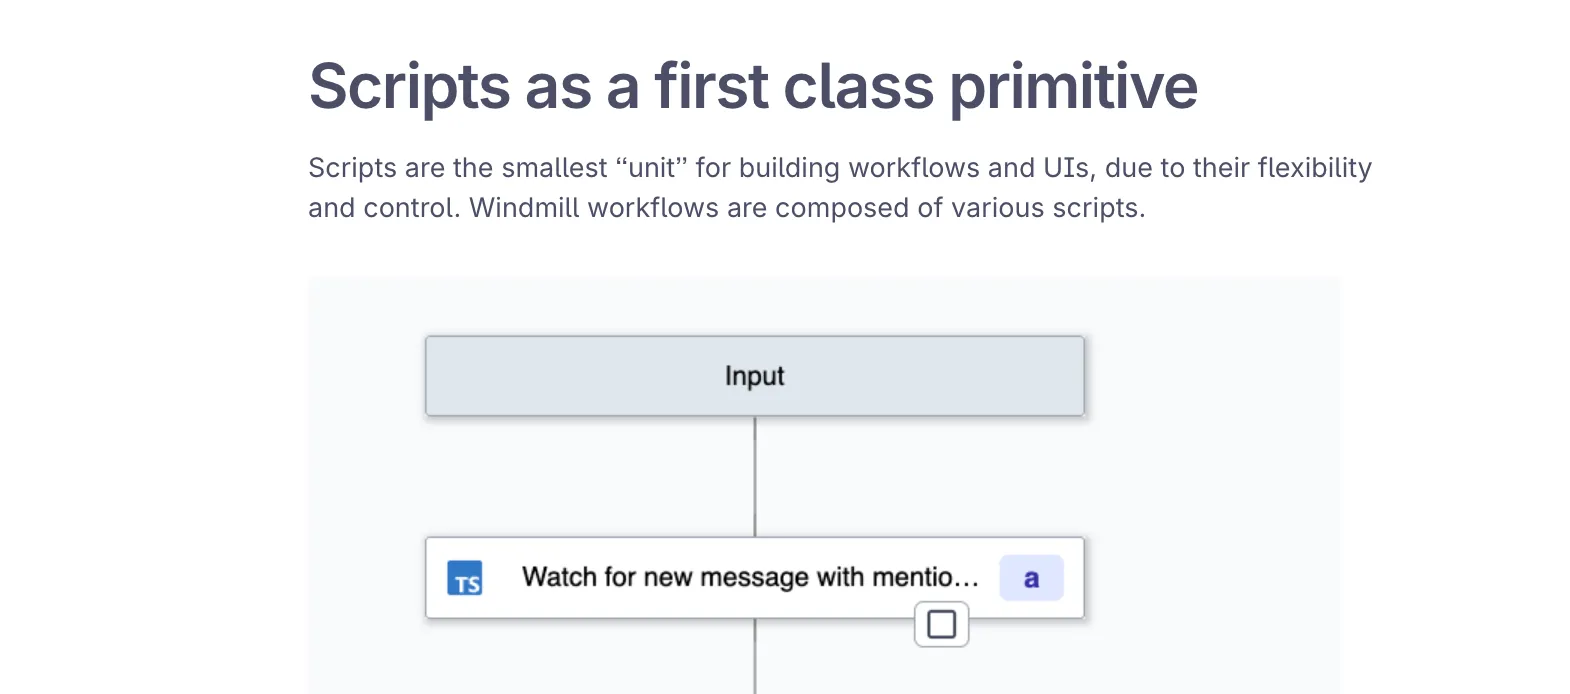
Windmill.dev uses Deno’s optional dependency manifest to create immutable scripts, a foundational building block for their user-generated workflows.
Of course, you can always use package.json in cases where your dependencies
might require one.
Importing npm and jsr packages is recommended in any Deno program — CLI, servers, libraries, etc. — even in other contexts where Deno is used, such as Jupyter notebooks and REPL. Let’s take a look at that next.
Jupyter notebooks and REPL
Deno’s jupyter support
is great for exploring datasets in JavaScript/TypeScript, or even to use as a
REPL (though you can use deno repl as well — more below).
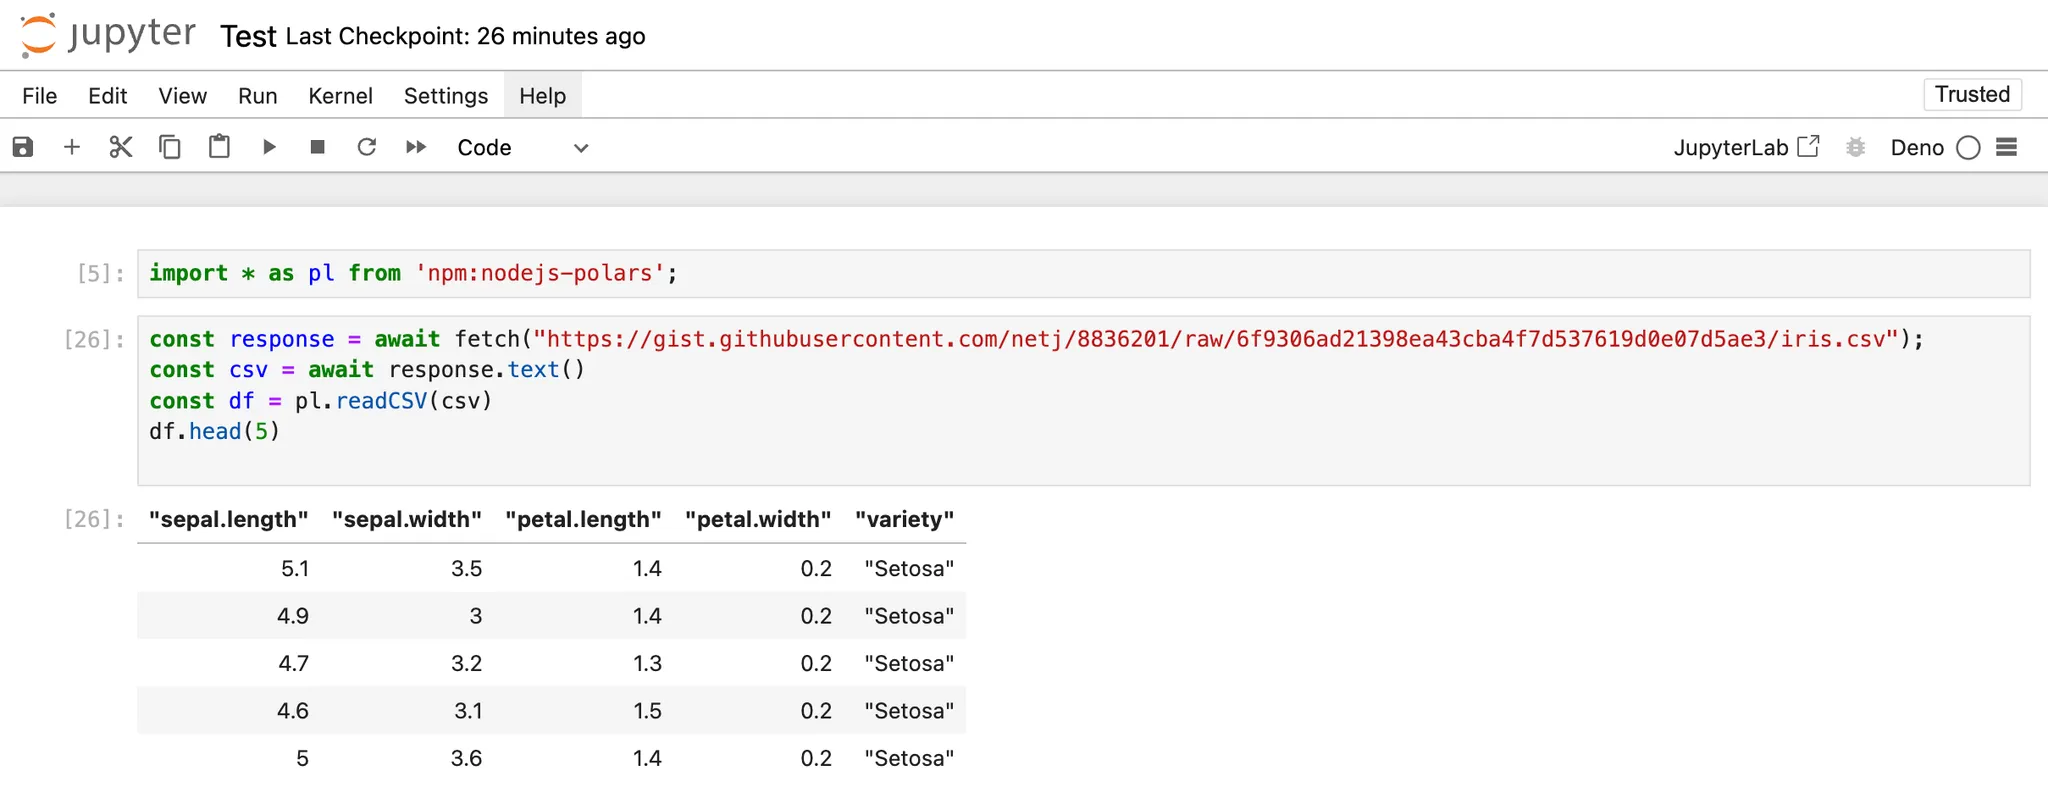
You can use npm: directly in Jupyter notebooks so you can import key npm
modules for data exploration, analysis, and even charting. Here’s an example of
using npm:polars in Jupyter
notebooks:
Working with data sets in JavaScript and TypeScript not only has many data
libraries that is available in Python, but also allows you to easily render your
analysis to HTML. Here’s an example using
npm:@observablehq/plot:
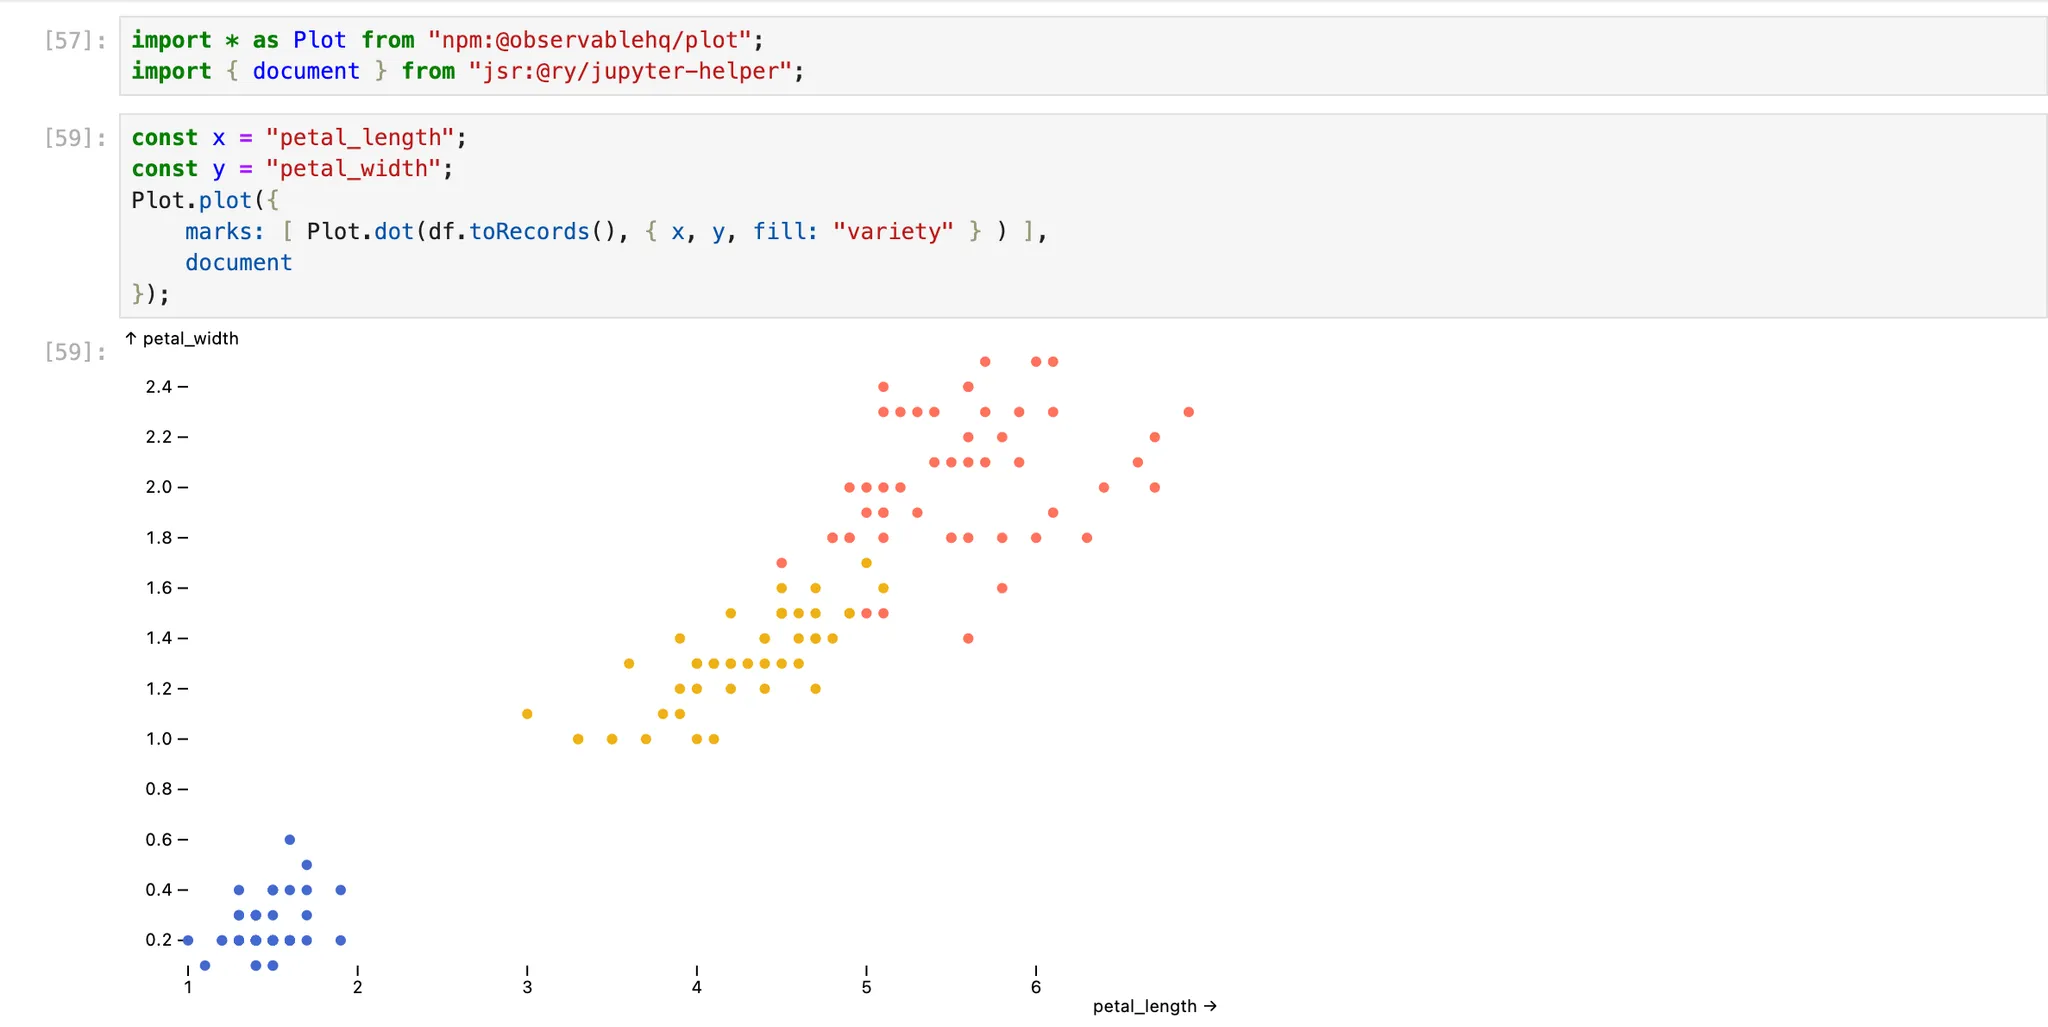
npm:@observablehq/plot and
jsr:@ry/jupyter-helper.
Interested in using JS/TS to explore datasets in Deno jupyter? Here are some awesome libraries (and their Python counterparts) to help get you started:
| Python | JS/TS |
|---|---|
| polars | npm:polars |
| ipyaggrid | npm:ag-grid-community |
| ipychart | npm:@observablehq/plot |
| bqplot | npm:@observablehq/plot |
| anywidget | jsr:@anywidget |
You can also use npm: in your deno repl:
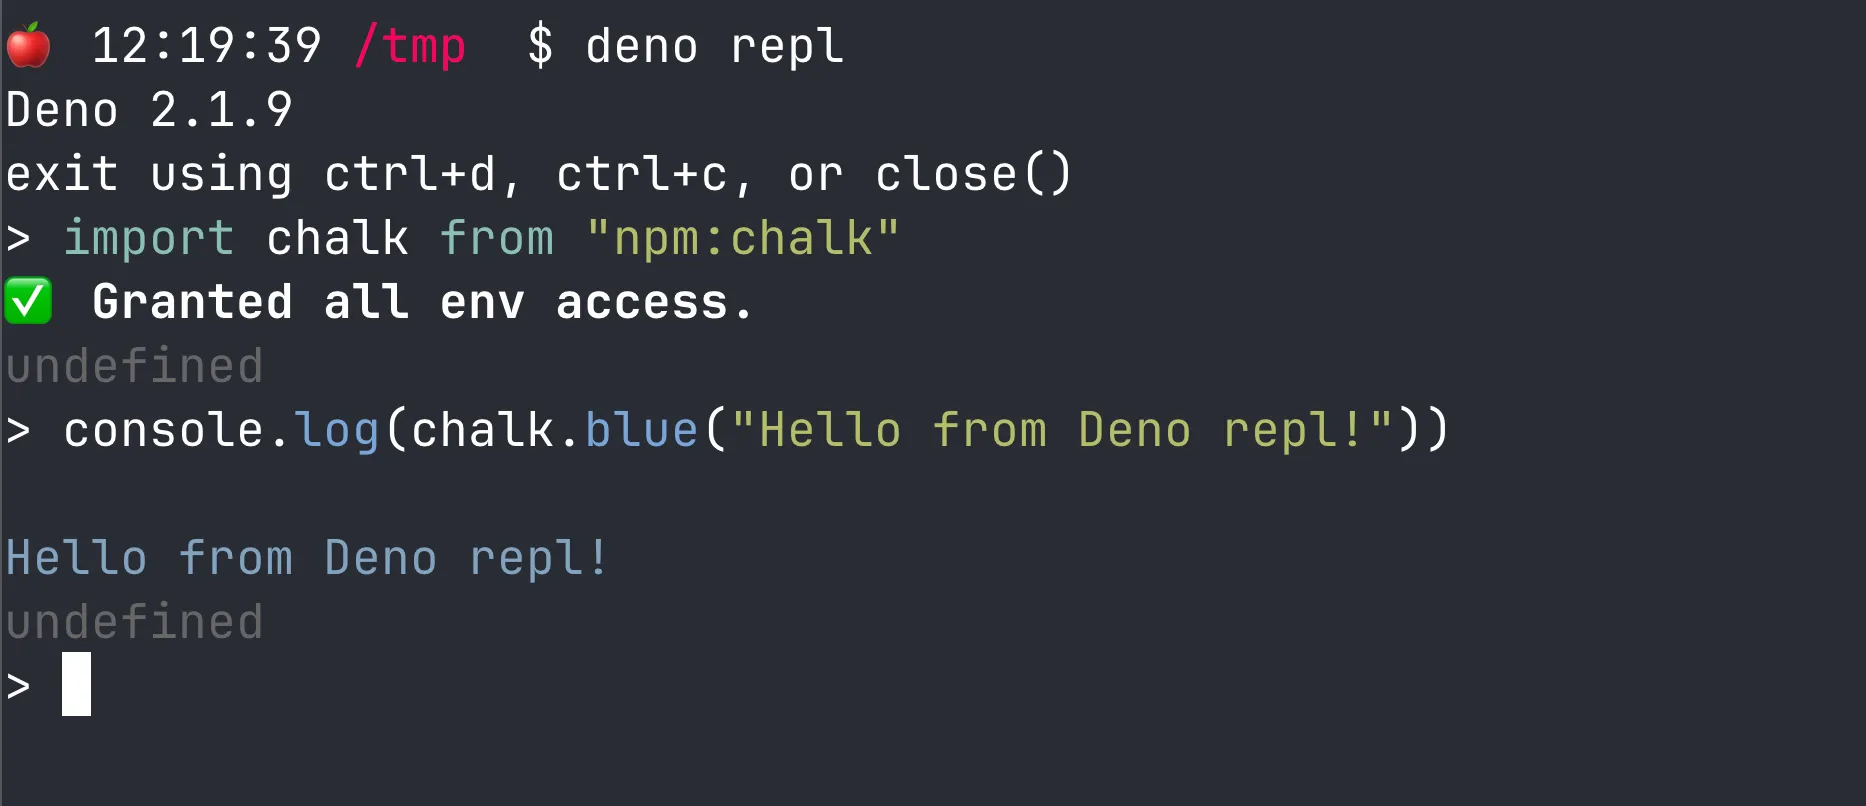
Note that just like any other Deno program, both Jupyter notebooks and REPL make use of your global cache for dependencies. That not only means less vendor clutter in your directories, but also faster execution once your dependencies are cached.
Improved security
In Node, when you import an npm module, that module has unfettered access to everything. And due to the hyper composability of npm modules, there have been dozens of reported security vulnerabilities from malicious npm modules that have stolen user data from forms, performed shell injection attacks, installed malware onto your machine, and more.
Deno, designed with security in mind from the outset, uses an opt-in-permissions
model that will alert you when any of your dependencies are requesting access
to anything sensitive. For instance, npm:chalk requires access to several
environment variables:
On top of having an additional security layer with Deno’s permission system, Deno also requires you to opt into allowing pre- and post- install scripts during the npm install process. While certain npm packages require these lifecycle install scripts to run properly, they also have full access to your systems. This means essentially allowing the package author to run any scripts on your machine, CI environment, etc., which is dangerous if you don’t recognize what packages are being installed.
In Deno, if you install an npm package that requires a lifecycle install script to execute, you’ll be prompted with the following warning message:

To enable install scripts, you can use the
--allow-scripts
flag. Note that this flag can also accept parameters for specific package names,
giving you not only more visibility, but also more granular control.
Private npm registries
Many large organizations host their own private npm registries to manage
internal packages.
Deno supports this in the same way Node does
— with an .npmrc file to configure Deno to fetch packages from this private
registry:
// .npmrc
@mycompany:registry=http://mycompany.com:8111/
//mycompany.com:8111/:_auth=secretToken
// deno.json
{
"imports": {
"@mycompany/package": "npm:@mycompany/package@1.0.0"
}
}// main.ts
import { hello } from "@mycompany/package";
console.log(hello());$ deno run main.ts
Hello world!You can also use private npm packages in your package.json file:
// package.json
{
  "dependencies": {
    "@mycompany/package": "1.0.0"
  }
}
// main.ts
import { hello } from "@mycompany/package";
console.log(hello());$ deno run main.ts
Hello world!What’s next
While Deno will always offer HTTP imports due to its web native protocol, we
recommend defaulting to using npm: or jsr: specifiers for Deno 2 and above.
To learn more about what npm packages and frameworks you can use with Deno 2,
check out our tutorials: