Build a dinosaur runner game with Deno, pt. 6

This series of blog posts will guide you through building a simple browser-based dinosaur runner game using Deno.
- Setup a basic project
- Game loop, canvas, and controls
- Obstacles and collision detection
- Databases and global leaderboards
- Player profiles and customization
- Observability, metrics, and alerting
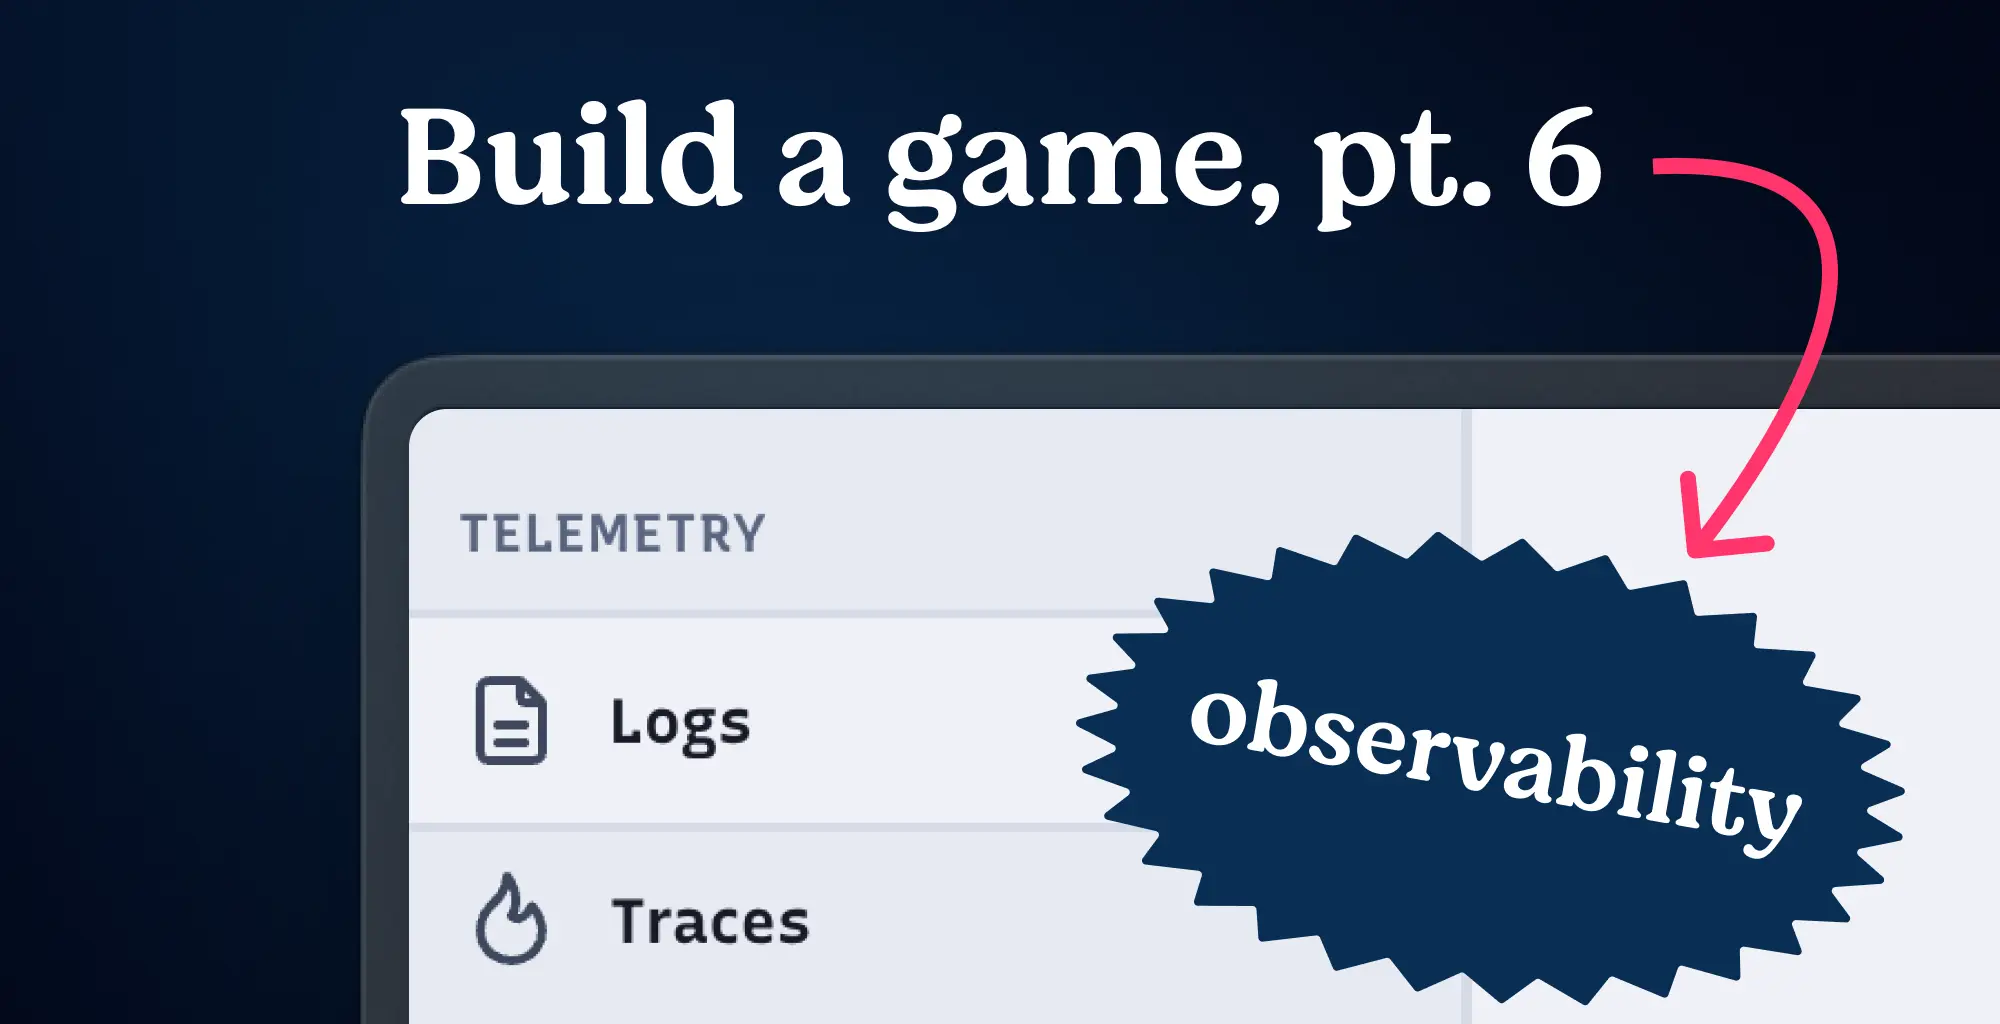
Observability, Metrics, and Alerting
In Stage 5, we gave players an identity: a name, a dino colour, a background theme, and a difficulty level, all persisted in PostgreSQL and loaded back on every visit. The game is now feature-complete. But shipping features is only half the story. The other half is understanding what’s happening once real players arrive.
Are the API routes fast enough? Is the leaderboard staying healthy? Is there a
spike in errors after a deployment? You can’t answer those questions with
console.log("Server is running!"). In this final stage, we’ll wire up an
observability layer that makes every question answerable, leaning on Deno
Deploy’s built-in logs, traces, and metrics dashboards so you don’t need to
reach for a separate monitoring product to get started.
Keep reading and build along or view the entire source here.
What you’ll build
By the end of this post you will have:
- Structured logs: every HTTP request emits a JSON log line, and key game events (score submissions, customization saves) emit their own structured events that you can search and filter in the Logs dashboard.
- Custom traces: key operations (score submission, leaderboard fetch, loading player settings) each get their own span, so you can see exactly where time is spent inside a request.
Both are visible in Deno Deploy’s built-in dashboards alongside the platform’s automatic metrics, no extra infrastructure required.
The three pillars of observability
Observability is the ability to understand what your system is doing from the outside, by examining the data it produces. That data typically comes in three forms:
| Pillar | What it answers |
|---|---|
| Logs | What happened, and when? |
| Traces | Where did the time go? |
| Metrics | How is the system trending over time? |
Deno Deploy provides a dashboard for all three. Logs and traces support custom instrumentation, you can add your own structured log events and custom spans. The Metrics dashboard shows platform-level data that Deno Deploy captures automatically, which we’ll look at in its own section.
Setting up the telemetry module
We need one package: the OpenTelemetry API. On Deno Deploy, the runtime wires up the SDK and exporter for you, no other configuration required. The API package gives us the interfaces we call in our code; the platform handles where the data goes.
Add it to deno.json:
{
  "imports": {
    "@oak/oak": "jsr:@oak/oak@17",
    "@opentelemetry/api": "npm:@opentelemetry/api@^1.9.0",
    "npm:pg": "npm:pg@^8.11.0"
  }
}
Create src/telemetry.ts to hold the shared tracer instance:
import { SpanStatusCode, trace } from "@opentelemetry/api";

// Shared tracer - used to create custom spans throughout the server
export const tracer = trace.getTracer("dino-game", "1.0.0");

export { SpanStatusCode };
Keeping this in one place means every file uses the same tracer name and version, which groups all your custom spans together in the dashboard.
Logs
Every console.log call you make is captured by Deno Deploy and shown in the
Logs tab of your app’s dashboard. But plain-text logs are hard to filter.
The upgrade is to emit structured JSON, a single parseable object per event that
you can search by any field.
Create a logging middleware in src/middleware/logging.ts:
import type { Context } from "@oak/oak";

export async function loggingMiddleware(
  ctx: Context,
  next: () => Promise<unknown>,
): Promise<void> {
  const start = performance.now();
  const method = ctx.request.method;
  const path = ctx.request.url.pathname;

  await next();

  const status = ctx.response.status;
  const durationMs = Math.round(performance.now() - start);

  console.log(
    JSON.stringify({
      event: "http_request",
      method,
      path,
      status,
      durationMs,
    }),
  );
}
Register it at the top of your middleware stack in src/main.ts, so it wraps
every request:
import { loggingMiddleware } from "./middleware/logging.ts";

// ...

app.use(loggingMiddleware);
app.use(corsMiddleware);
// ...
After deploying, your Logs dashboard will show a clean stream of structured entries like this:
{"event":"http_request","method":"POST","path":"/api/scores","status":200,"durationMs":43}
{"event":"http_request","method":"GET","path":"/api/leaderboard","status":200,"durationMs":18}
You can filter by any field, for example, typing status:500 to find all
errors, or path:/api/scores to see only score submissions.
Business event logs
Beyond request logging, you can emit structured events from inside your route handlers for application-level insight. When a score is saved, we log everything useful about that game:
console.log(
  JSON.stringify({
    event: "score_submitted",
    playerName,
    score,
    globalRank: rank,
    isNewRecord: rank === 1,
    obstaclesAvoided,
    gameDurationSeconds: gameDuration,
    difficulty,
  }),
);
This creates a searchable audit trail of every game that was played. Open the
Logs dashboard, filter by event:score_submitted, and you have a live feed of
player activity without any dedicated analytics infrastructure. We do the same
for customization saves:
console.log(
  JSON.stringify({
    event: "customization_saved",
    playerName,
    backgroundTheme,
    dinoColor,
    difficultyPreference,
  }),
);
Errors get the same treatment, using console.error means they’re easy to
distinguish in the dashboard:
console.error(
  JSON.stringify({
    event: "score_submit_error",
    error: (error as Error).message,
  }),
);
Tip: Logs emitted inside a custom span (see the next section) are automatically correlated with that trace in the dashboard. You can click a log line and jump straight to the trace it belongs to.
Traces
A trace is a record of a single operation as it flows through your system. It’s made up of spans. These are named, timed units of work that nest inside each other to form a waterfall diagram.
Deno Deploy automatically creates a root span for every incoming HTTP request
and for every outbound fetch call your code makes. What we’re adding here are
child spans around the business logic inside each route handler, so you can
see exactly where time goes: is a slow /api/leaderboard response caused by the
database query, or something in the response serialisation?
Creating a custom span
The pattern is the same everywhere: call tracer.startActiveSpan() with a name,
do your work inside the callback, and call span.end() in a finally block so
the span is always closed, even if an error is thrown.
import { SpanStatusCode, tracer } from "../telemetry.ts";

router.get("/api/leaderboard", async (ctx: Context) => {
  await tracer.startActiveSpan("leaderboard.fetch", async (span) => {
    try {
      const limit = parseInt(ctx.request.url.searchParams.get("limit") || "10");
      span.setAttribute("leaderboard.limit", limit);

      // ... database query ...

      span.setAttribute("leaderboard.rows_returned", rows.length);
      ctx.response.body = { success: true, leaderboard: rows };
    } catch (error) {
      span.recordException(error as Error);
      span.setStatus({ code: SpanStatusCode.ERROR, message: error.message });
      throw error;
    } finally {
      span.end();
    }
  });
});
Span attributes are key/value pairs attached to a span. They appear in the
trace detail view and can be used to filter traces. For example, filtering for
spans where leaderboard.rows_returned is 0 would highlight times the database
returned an empty result.
span.recordException() captures the full error object, including the stack
trace, and attaches it as a span event. This makes it much easier to debug
production errors than reading plain error logs.
Spans for score submission
The score submission route does the most work: it validates input, inserts the score, and checks the resulting global rank. All of that lives in a single span, with the most useful facts attached as attributes:
router.post("/api/scores", async (ctx: Context) => {
  await tracer.startActiveSpan("score.submit", async (span) => {
    try {
      // ... parse and validate body ...

      span.setAttributes({
        "game.player_name": playerName,
        "game.score": score,
        "game.difficulty": difficulty,
      });

      // ... database insert + rank query ...

      if (rank === 1) {
        span.addEvent("new_global_record", { score, playerName });
      }

      span.setAttribute("game.global_rank", rank);
      span.setAttribute("game.is_new_record", rank === 1);
    } finally {
      span.end();
    }
  });
});
span.addEvent() adds a timestamped marker inside the span, this is useful for
significant moments that aren’t worth a whole new span. The new_global_record
event will appear as a point on the timeline in the trace viewer every time
someone sets a new record.
We add the same pattern to the customization routes at customization.load and
customization.save, each carrying attributes for player name, theme, and the
source of the settings (database, anonymous, or defaults):
span.setAttributes({
  "game.player_name": playerName,
  "customization.theme": backgroundTheme,
  "customization.difficulty": difficultyPreference,
});
Once deployed, open the Traces dashboard in Deno Deploy and click on any
POST /api/scores request. You’ll see a waterfall: the outer HTTP span wrapping
your score.submit span. Hover over your span to see the attributes and events
you attached, and click through to any correlated log lines.
Metrics
The Metrics dashboard in Deno Deploy shows platform-level data that the runtime collects automatically, no code changes required. For this game, these are the most useful panels and what they tell you:
HTTP req/min by status code is the clearest signal of overall health. A jump
in 5xx responses after a deployment means something broke; a steady stream of
4xx responses on /api/scores might mean the client is sending malformed data.
HTTP mean latency is your API’s average response time. If this climbs after a deploy, check the Traces dashboard for whichever route has become slow. The latency graph and the trace waterfall work together: the graph tells you something is slow, and the trace tells you which part is slow.
CPU time and memory usage are useful for understanding the cost of traffic spikes. If the leaderboard gets shared and hundreds of players pile in, you’ll see CPU and memory spike here. It’s also a good baseline check after adding new database queries. A query without an index will show up as a CPU spike.
V8 garbage collection time is the high GC time relative to total CPU time is a sign of memory pressure, usually from allocating and discarding large objects in hot paths (like serialising a large leaderboard response on every request).
Total incoming / outgoing bandwidth is helpful for spotting unexpectedly large responses. If outgoing bandwidth is high, the leaderboard response might be returning more rows than expected, or a static asset might not be cached correctly.
Together, these panels give you a good picture of your app’s health without any extra configuration. When something looks wrong, the workflow is: spot the anomaly in Metrics, narrow it to a route using the status-code breakdown, then jump to Traces to find the slow or failing span.
Viewing it all locally with the tunnel
Deno Deploy’s tunnel feature lets you run your server locally while routing telemetry through to the real Deno Deploy dashboards. This means you can verify your instrumentation is working before you deploy:
deno task --tunnel devThe first time you run this, a browser will open to authenticate and ask which
app to connect to. After that, your local traffic appears in the Deno Deploy
dashboard under the context:local filter.
Play the game locally, submit a score, then open the Traces dashboard and
confirm that the score.submit span is there with the right attributes. Check
the Logs dashboard to see your score_submitted JSON line. Once you’re happy
with what you see, deploy for real:
deno deploy --prodWhat you can see now
| Dashboard | What you’ll find |
|---|---|
| Logs | One JSON line per HTTP request (event: "http_request"); structured events for score_submitted, customization_saved, and errors |
| Traces | Custom spans: leaderboard.fetch, score.submit, scores.fetch_personal_bests, customization.load, customization.save, each with attributes for player name, score, rank, theme, and source |
| Metrics | Automatic platform data: HTTP req/min by status, mean latency, CPU time, memory usage, GC time, and bandwidth |
Wrapping up the series
Over six posts, we’ve gone from a blank directory to a fully instrumented, globally distributed dinosaur runner game:
- A basic Oak server serving static files
- A canvas game loop with a playable dino character
- Cactus obstacles and pixel-perfect collision detection
- A PostgreSQL leaderboard with score submission via API
- Player profiles: custom dino colors, themes, and difficulty settings
- Full observability: structured logs, custom traces, and platform metrics
The instrumentation from this post gives you the visibility you need to operate the game in production, with the confidence to know when something breaks before your players do, and to understand how players are actually interacting with what you’ve built.
The full source is available on GitHub. Happy running! We’d love to see what you build next — share it with us on Twitter, Bluesky, or Discord. 🦕