
Run npm and Deno anywhere

We made it to the end of our first Launch Week! Aside from announcing that npm compatibility is stabilized in 1.28, we showed how to use persistent data npm modules, build with frameworks, and how Deno’s secure-by-default model helps mitigate against dependency vulnerabilities. We even hosted a special live stream where we answered your questions and demo’d variety of ways you can use npm specifiers with Deno.
Today, we want to highlight that you can run your npm and Deno code on any virtual private server.
Yes, Deno Deploy is an excellent choice to host your Deno code, especially if you want it to be executed close to your users on the edge. Deploying to our V8 isolate cloud takes seconds and can be accessed around the world within seconds. Also, npm specifiers aren’t currently supported in Deploy, but will be soon.
But there are many virtual private servers where you can host Deno code and setup CI/CD with. This blog post will show you how to deploy Deno to these platforms:
Note that all of these guides require you to have
docker CLI since
we’ll be using Docker for deployment.
Using Docker
Before we deploy anything, all three examples will use basically the same
main.ts, a Dockerfile built with
our Docker image, and
docker-compose.yml files. We’ll show them here so we don’t have to repeat them
later.
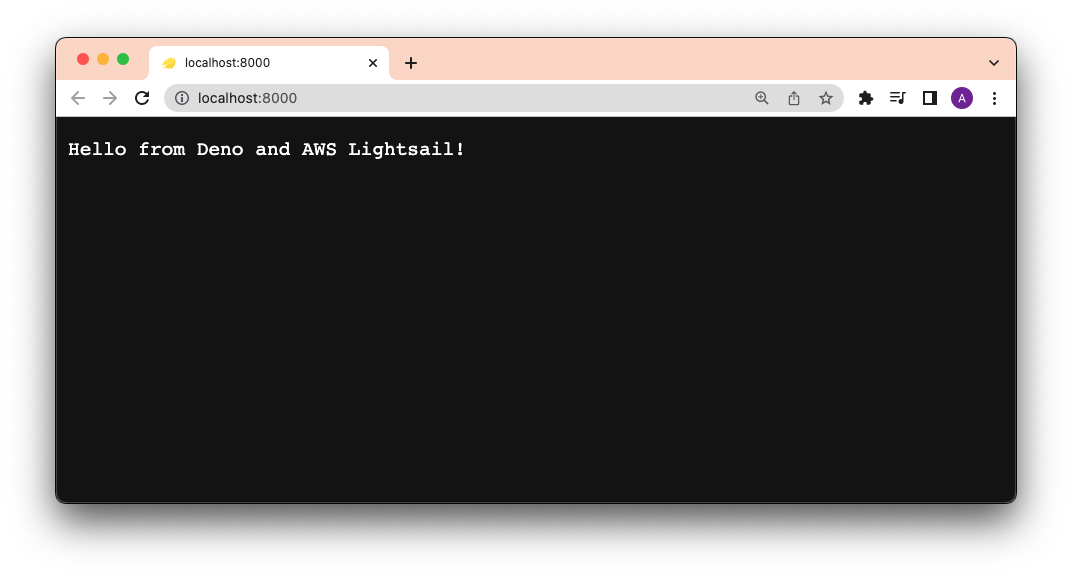
In your main.ts (the examples below may change the “Hello from Deno and AWS
Lightsail” line to something specific to that platform, e.g. “Hello from Deno
and Digital Ocean!”):
import { Application } from "https://deno.land/x/oak@11.1.0/mod.ts";

const app = new Application();

app.use((ctx) => {
  ctx.response.body = "Hello from Deno and AWS Lightsail!";
});

await app.listen({ port: 8000 });
Your Dockerfile:
FROM denoland/deno

EXPOSE 8000

WORKDIR /app

ADD . /app

RUN deno cache main.ts

CMD ["run", "--allow-net", "main.ts"]
Then, in our docker-compose.yml:
version: "3"

services:
  web:
    build: .
    container_name: deno-container
    image: deno-image
    ports:
      - "8000:8000"
Let’s test this locally by running docker compose -f docker-compose.yml build,
then docker compose up, and going to localhost:8000.
Each section below will focus on building those images and deploying them to their respective platforms.
AWS Lightsail
Amazon Lightsail is the easiest and cheapest way to get started with Amazon Web Services. It allows you to host virtual machines and even entire container services.
This section will show you how to deploy a Deno app to Lightsail using Docker, Docker Hub, and GitHub Actions.
You’ll need:
Build, Tag, and Push to Docker Hub
First, let’s sign into Docker Hub and
create a repository. Let’s name it deno-on-aws-lightsail.
Then, let’s tag and push our new image, replacing username with yours:
Then, let’s build the image locally. Note our docker-compose.yml file will
name the build deno-image.
docker compose -f docker-compose.yml buildLet’s tag the local
image with {{ username }}/deno-on-aws-lightsail:
docker tag deno-image {{ username }}/deno-on-aws-lightsailWe can now push the image to Docker Hub:
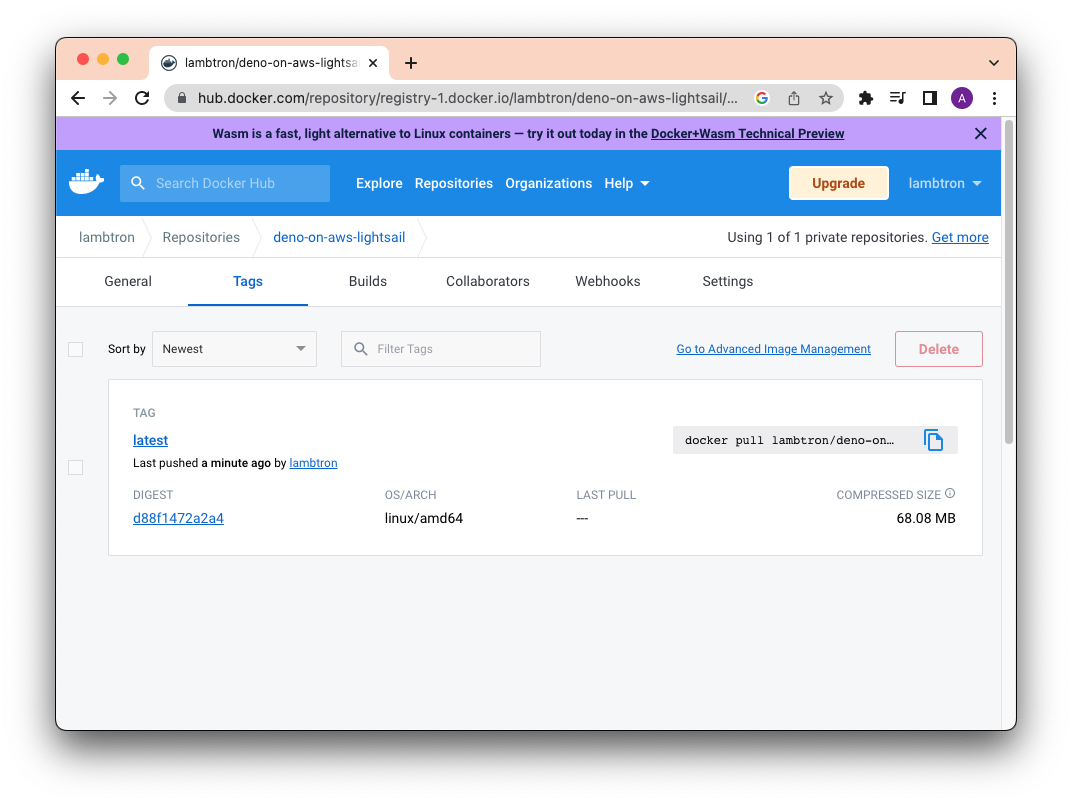
docker push {{ username }}/deno-on-aws-lightsailAfter that succeeds, you should be able to see the new image on your Docker Hub repository:
Create and Deploy to a Lightsail Container
Let’s head over to the Amazon Lightsail console.
Then click “Containers” and “Create container service”. Half way down the page, click “Setup your first Deployment” and select “Specify a custom deployment”.
You can write whatever container name you’d like.
In Image, be sure to use {{ username }}/{{ image }} that you have set in
your Docker Hub. For this example, it is lambtron/deno-on-aws-lightsail.
Let’s click Add open ports and add 8000.
Finally, under PUBLIC ENDPOINT, select the container name that you just
created.
The full form should look like below:
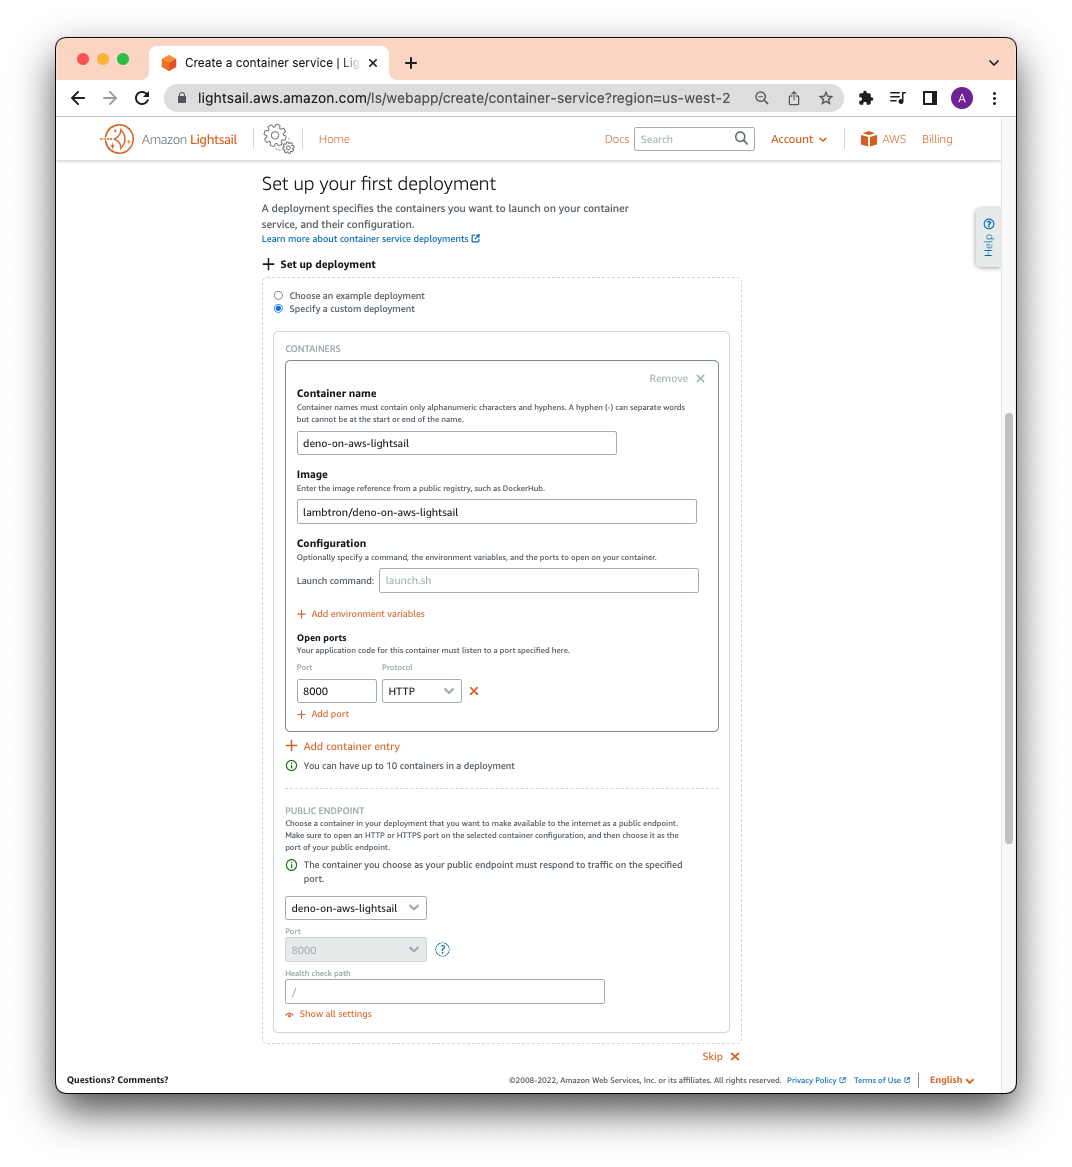
When you’re ready, click “Create container service”.
After a few moments, your new container should be deployed. Click on the public address and you should see your Deno app:
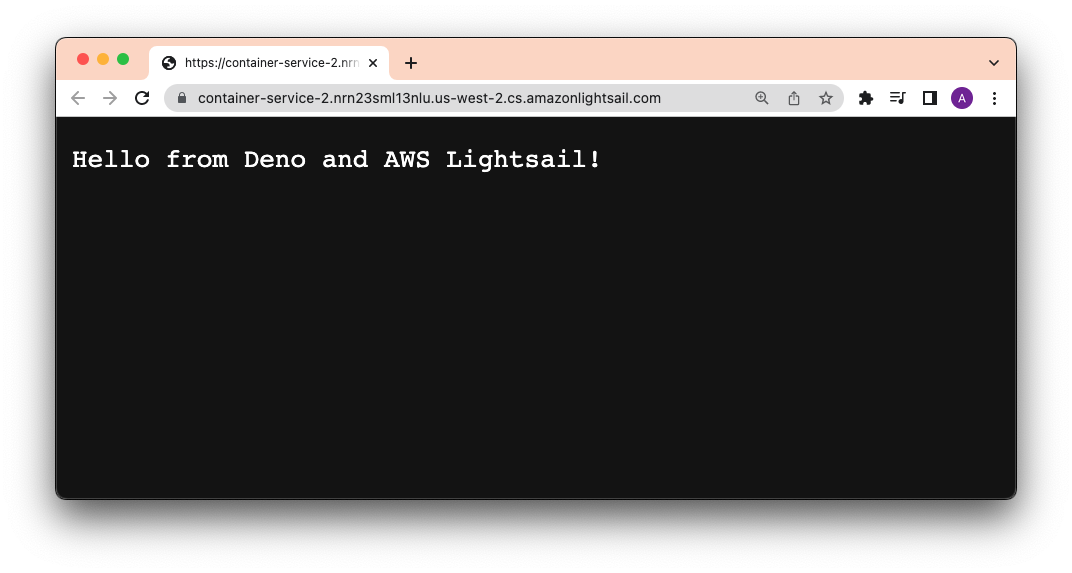
It works!
Learn more about automating this deployment using GitHub Actions in our Manual.
Digital Ocean
Digital Ocean is a popular cloud infrastructure provider offering a variety of hosting services ranging from networking, to compute, to storage.
You’ll need:
Build, Tag, and Push your Docker image to Digital Ocean Container Registry
This section assumes you have setup your main.ts, Dockerfile, and
docker-compose.yml (if you haven’t, please refer to
Using Docker).
Digital Ocean has its own private Container Registry, with which we can push and
pull Docker images. In order to use this registry, let’s
install and authenticate doctl on the command line.
After that, we’ll create a new private registry named deno-on-digital-ocean:
doctl registry create deno-on-digital-oceanUsing our Dockerfile and docker-compose.yml, we’ll build a new image, tag it,
and push it to the registry. Note that docker-compose.yml will name the build
locally as deno-image.
docker compose -f docker-compose.yml buildLet’s tag it with
new:
docker tag deno-image registry.digitalocean.com/deno-on-digital-ocean/deno-image:newNow we can push it to the registry.
docker push registry.digitalocean.com/deno-on-digital-ocean/deno-image:newYou should see your new deno-image with the new tag in your
Digital Ocean container registry:
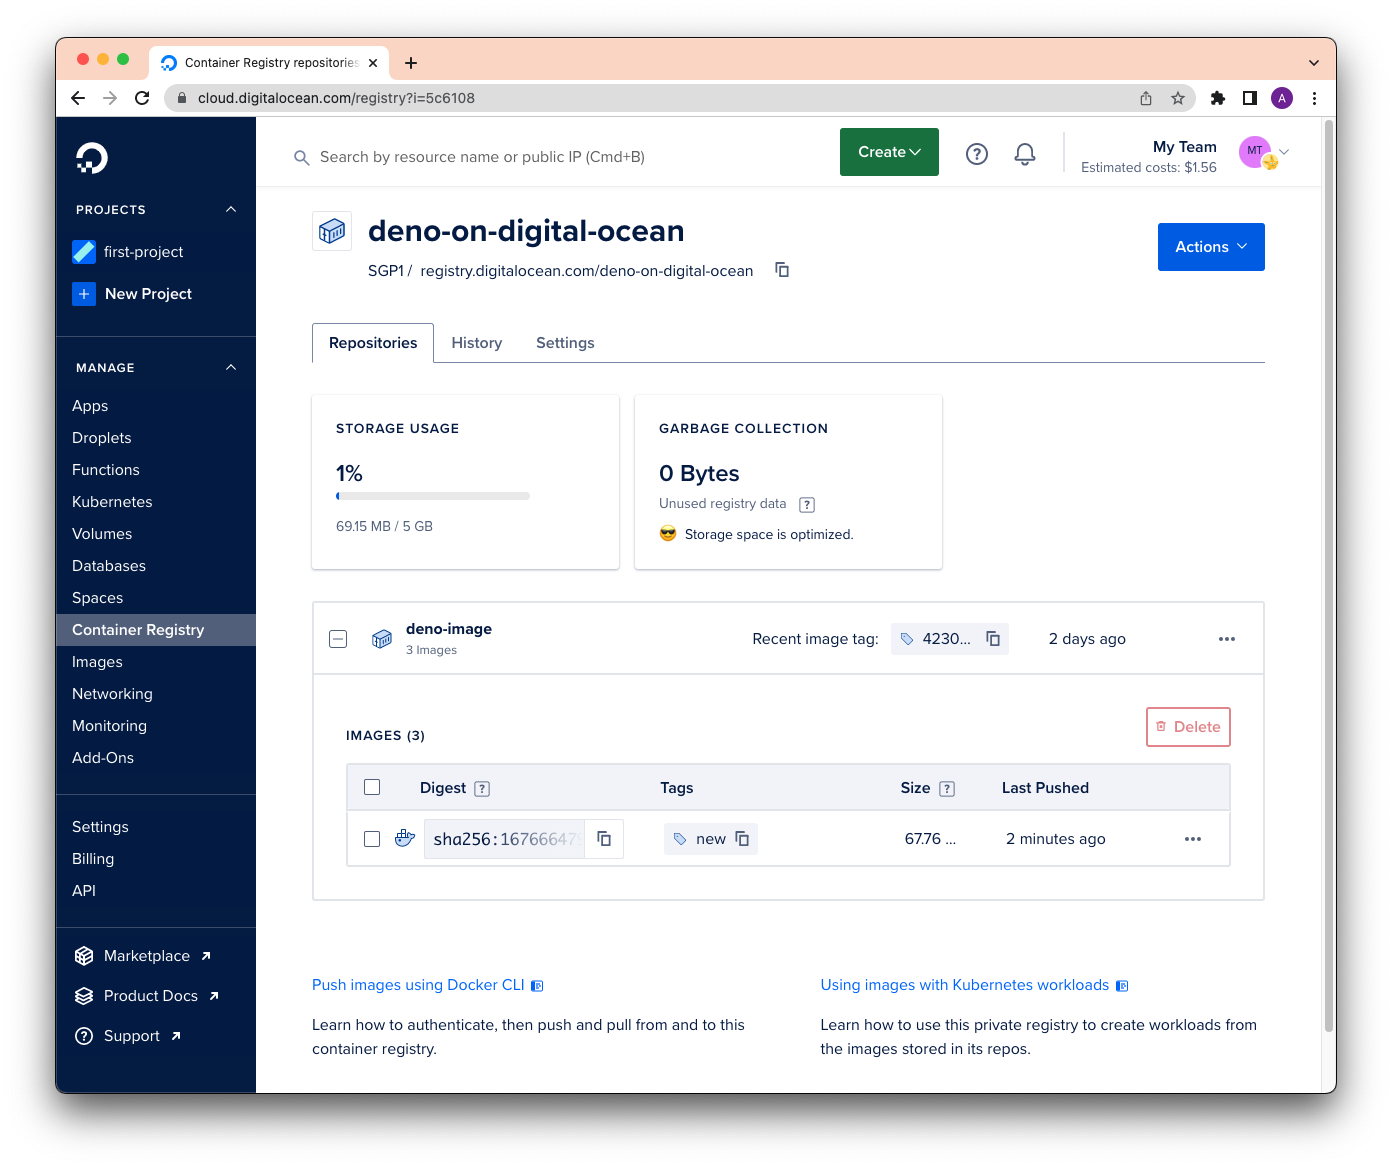
Perfect!
Deploy to Digital Ocean via SSH
Once our deno-image is in the registry, we can run it anywhere using
docker run. In this case, we’ll run it while in our
Digital Ocean Droplet, their
hosted virtual machine.
While on your Droplet page, click on
your Droplet and then console to SSH into the virtual machine. (Or you can
ssh directly from your command line.)
To pull down the deno-image image and run it, let’s run:
docker run -d --restart always -it -p 8000:8000 --name deno-image registry.digitalocean.com/deno-on-digital-ocean/deno-image:newUsing our browser to go to the Digital Ocean address, we now see:
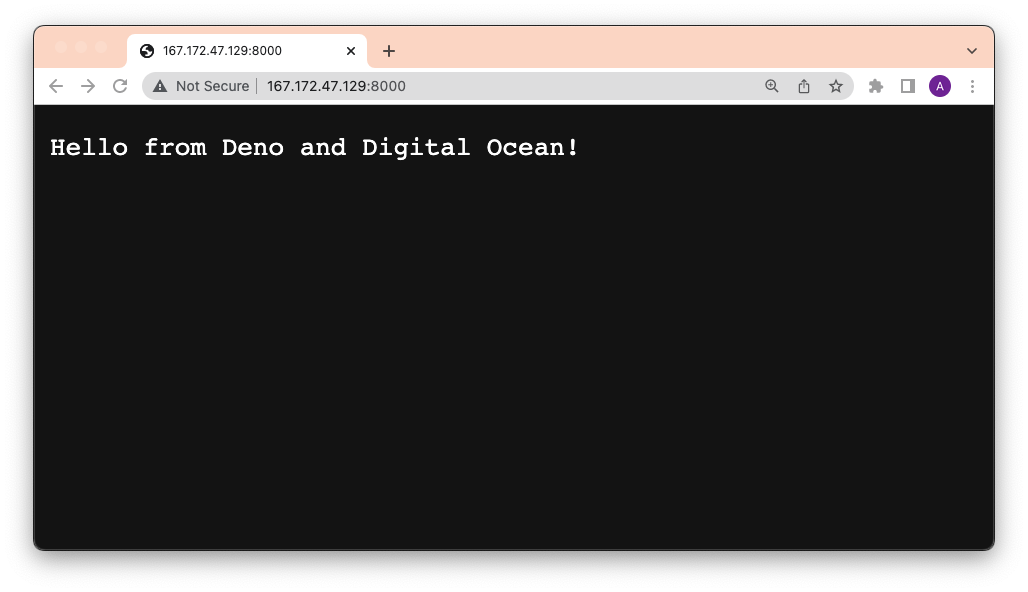
There we go!
Learn more about automating deployments to Digital Ocean with GitHub Actions.
Google Cloud Run
Google Cloud Run is a managed compute platform that lets you run containers on Google’s scalable infrastructure.
You’ll need:
- a Google Cloud Platform account
gcloudinstalled
Set up Google Artifact Registry
This section assumes you have setup your main.ts, Dockerfile, and
docker-compose.yml (if you haven’t, please refer to
Using Docker).
Artifact Registry is GCP’s private registry of Docker images.
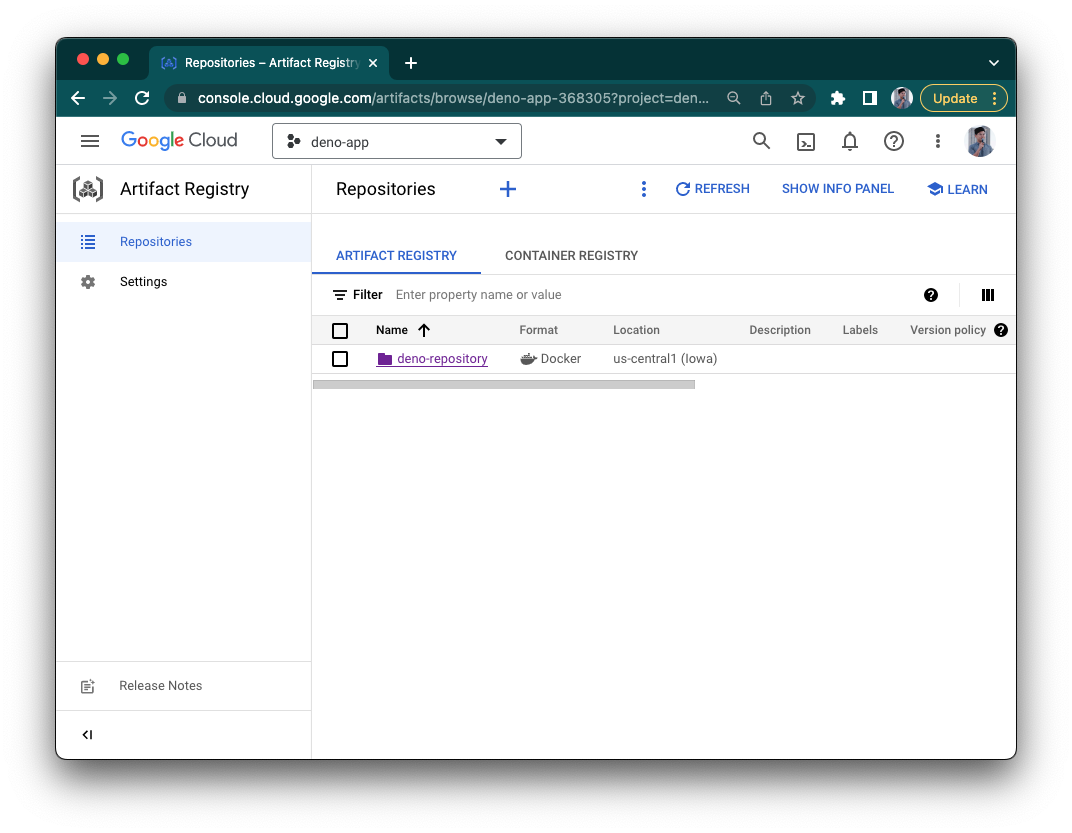
Before we can use it, go to GCP’s
Artifact Registry and click
“Create repository”. You’ll be asked for a name (deno-repository) and a region
(us-central1). Then click “Create”.
Build, Tag, and Push to Artifact Registry
Once we’ve created a repository, we can start pushing images to it.
First, let’s add the registry’s address to gcloud:
gcloud auth configure-docker us-central1-docker.pkg.devThen, let’s build your Docker image. (Note that the image name is defined in our
docker-compose.yml file.)
docker compose -f docker-compose.yml buildThen, tag it with
the new Google Artifact Registry address, repository, and name. The image name
should follow this structure:
{{ location }}-docker.pkg.dev/{{ google_cloudrun_project_name }}/{{ repository }}/{{ image }}.
docker tag deno-image us-central1-docker.pkg.dev/deno-app-368305/deno-repository/deno-cloudrun-imageIf you don’t specify a tag, it’ll use :latest by default.
Next, push the image:
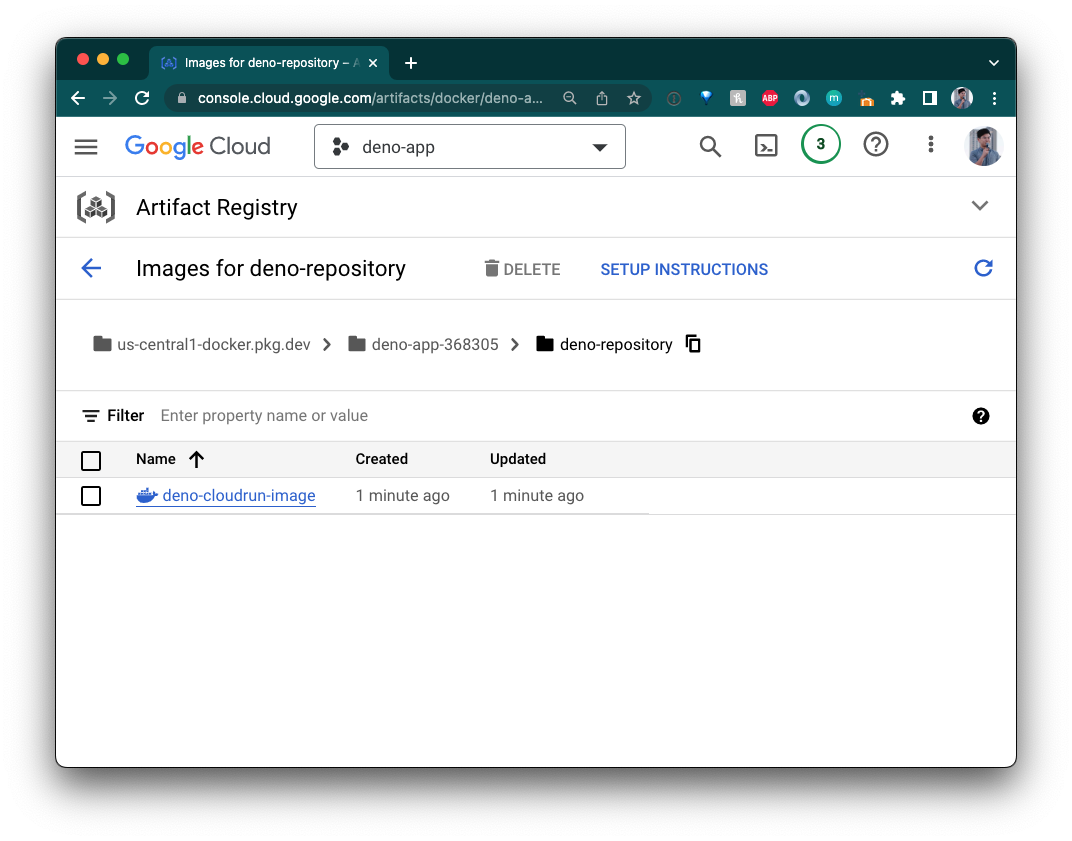
docker push us-central1-docker.pkg.dev/deno-app-368305/deno-repository/deno-cloudrun-imageMore info on how to push and pull images to Google Artifact Registry.
Your image should now appear in your Google Artifact Registry!
Create a Google Cloud Run Service
We need an instance where we can build these images, so let’s go to Google Cloud Run and click “Create Service”.
Let’s name it “hello-from-deno”.
Select “Deploy one revision from an existing container image”. Use the drop down
to select the image from the deno-repository Artifact Registry.
Select “allow unauthenticated requests” and then click “Create service”. Make
sure the port is 8000.
When it’s done, your app should now be live:
Awesome!
Deploy with gcloud
Now that it’s created, we’ll be able to deploy to this service from the gcloud
CLI. The command follows this structure:
gcloud run deploy {{ service_name }} --image={{ image }} --region={{ region }} --allow-unauthenticated.
Note that the image name follows the structure from above.
For this example, the command is:
gcloud run deploy hello-from-deno --image=us-central1-docker.pkg.dev/deno-app-368305/deno-repository/deno-cloudrun-image --region=us-central1 --allow-unauthenticated
Success!
Learn more about automating deployments to Google Cloud Run with GitHub Actions.
What’s next for npm and Deno
While stabilizing npm compatibility is a huge milestone for Deno, we’ve got plenty of work in the upcoming months to fix bugs, increase coverage with more npm modules, and to optimize performance.
In order to help us make using npm with Deno a breeze, we’d love for you to try npm with Deno. And if you come across any problems, please open up an issue.
Are you building with Deno and npm? Let us know on Twitter or Discord!