
Introducing Simpler Project Creation in Deno Deploy


Deno Deploy, our multi-tenant V8 isolate cloud, is one of the
simplest and fastest ways to deploy and run JavaScript and TypeScript on the
web. It also natively supports npm: specifiers, as
well as offers built-in cloud primitives — KV, queues,
and cron — that become globally distributed for optimal
performance. We’ve been continuously improving Deno Deploy
with new onboarding tutorials in Playgrounds
and
more features in deployctl to manage the entire lifecycle of a deployment.
Today, we’re thrilled to announce a simpler, improved new project creation flow in Deno Deploy. Connecting your GitHub repo now includes automatic framework detection, optional build step support depending on your project, seamless CI/CD setup using GitHub Actions, and a more transparent build process.
In this blog post, we’ll cover:
- Connecting a GitHub repo
- Adding an optional build step
- More transparent build and deploy step
- Better success page with resources
- What’s next
Connecting a GitHub repo
When you signup for a new Deno Deploy account, you’ll be greeted with this new welcome screen.
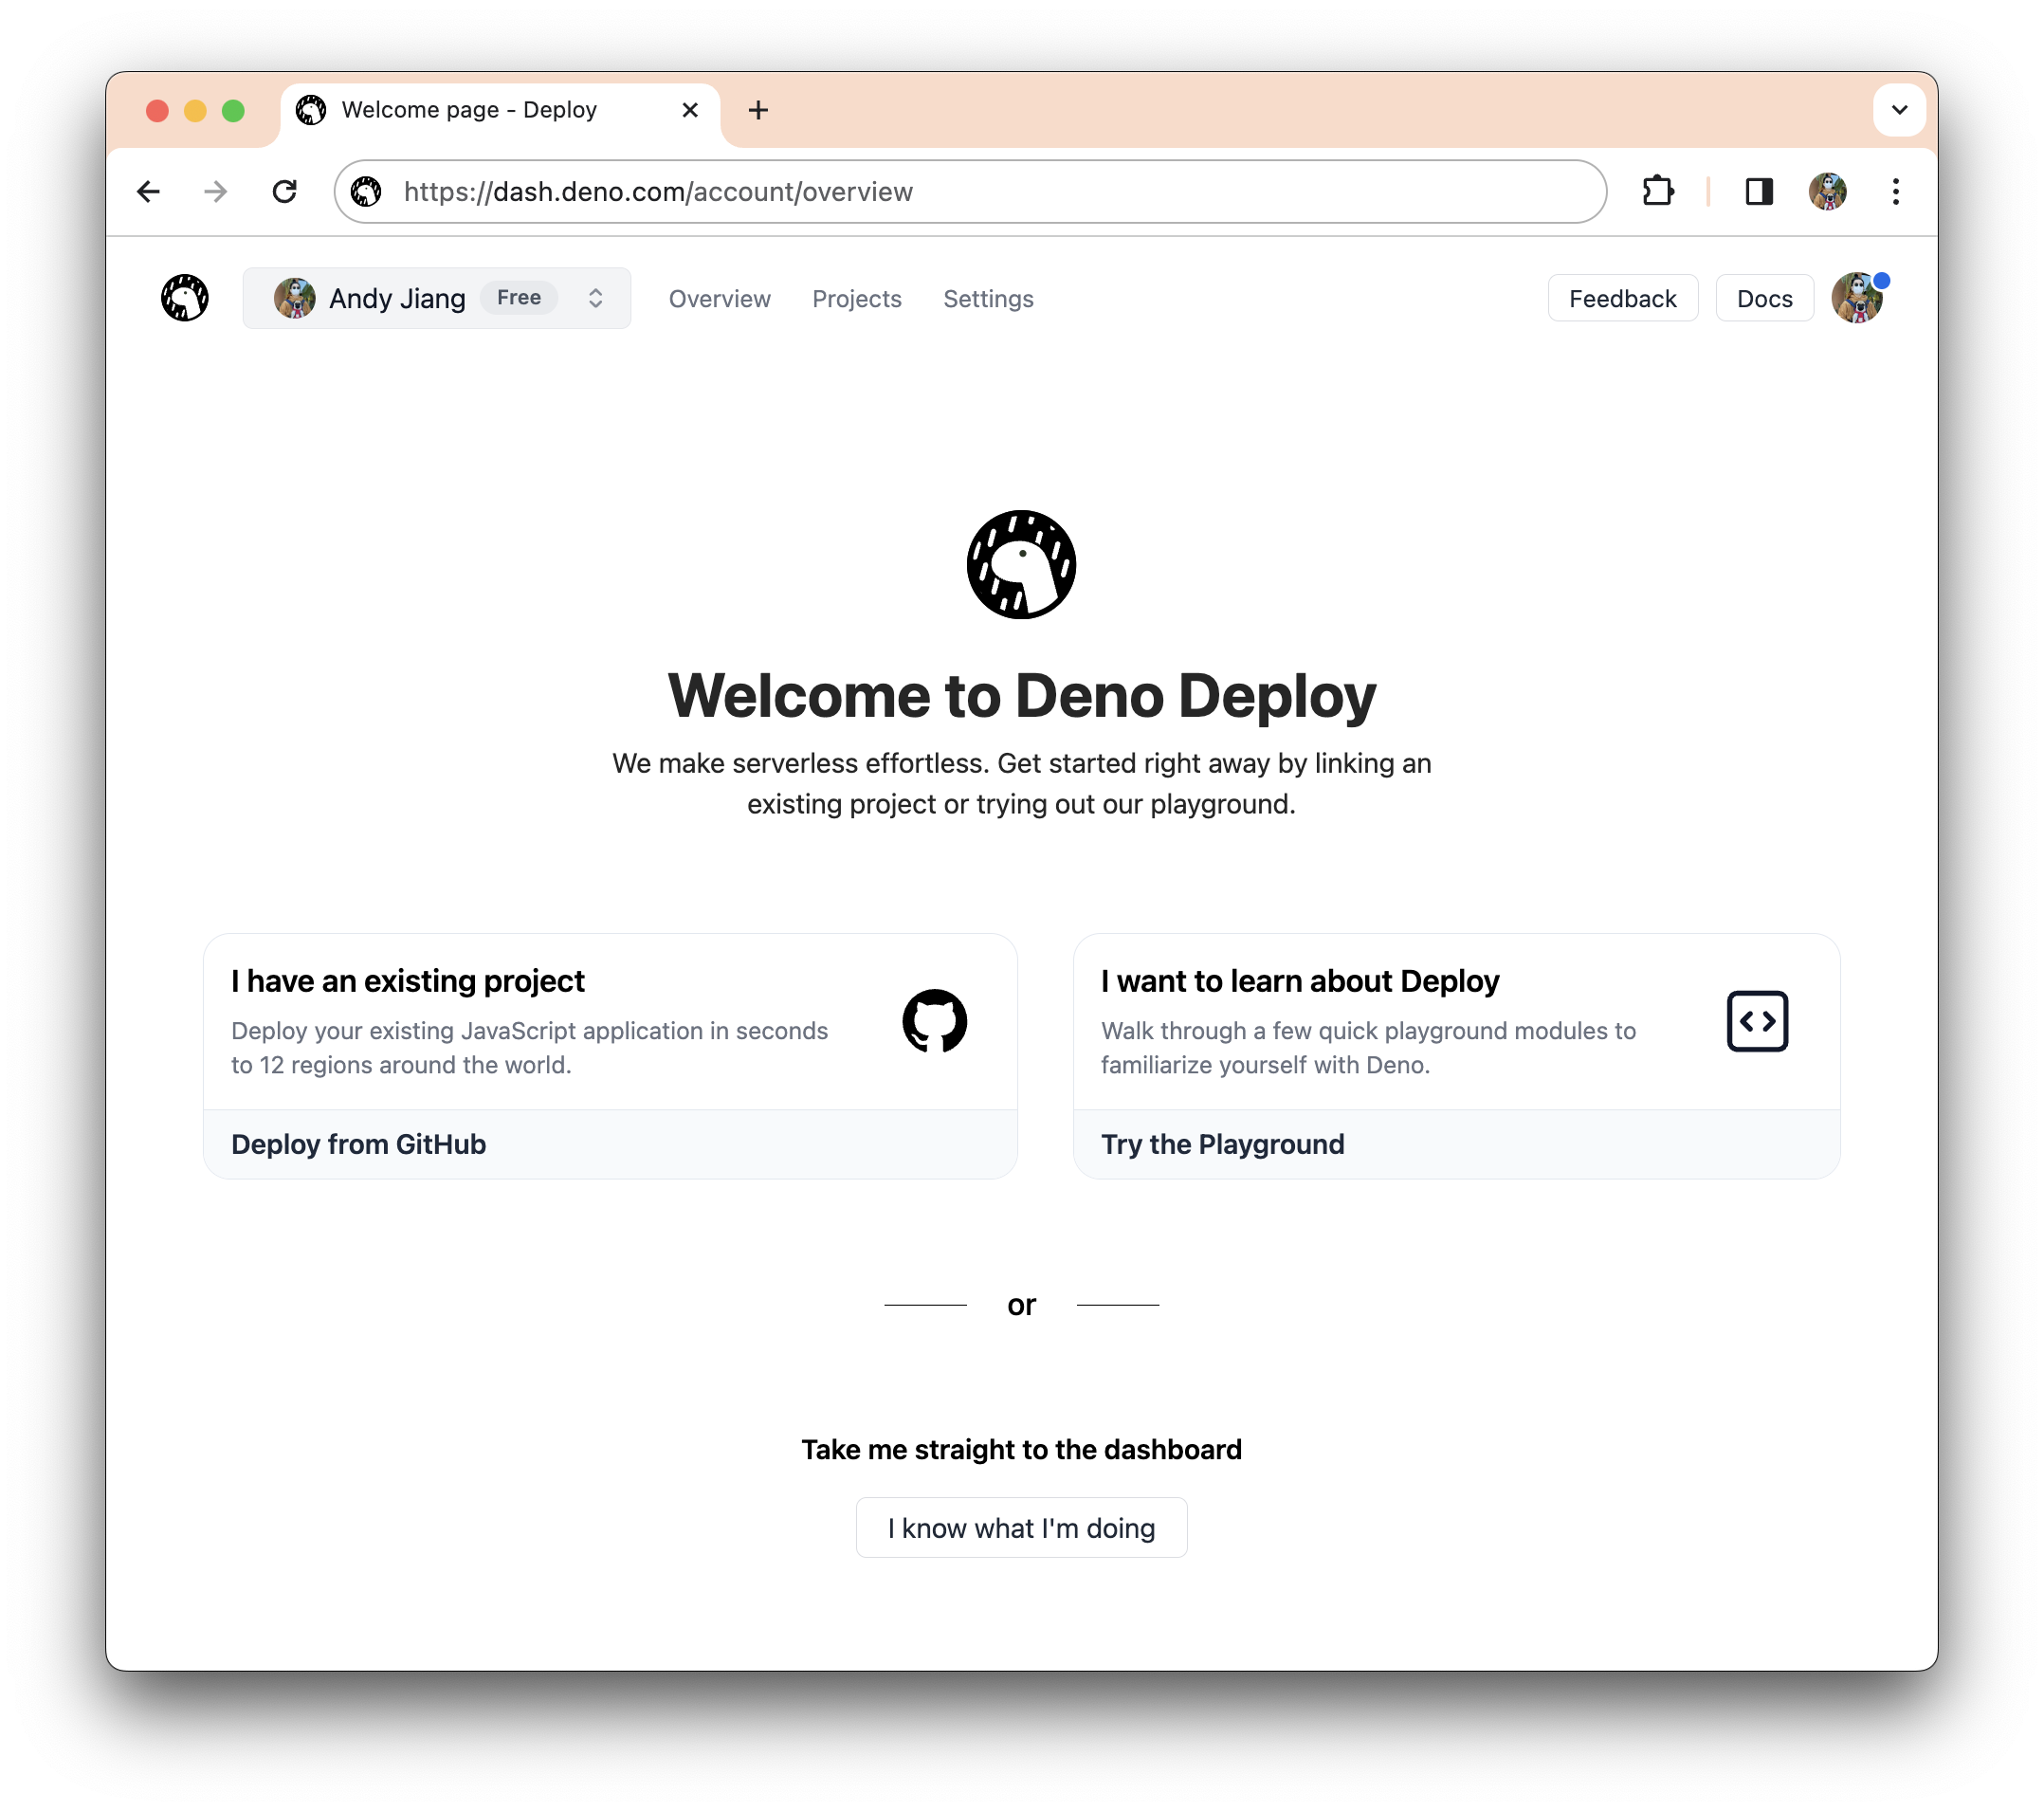
From here, you can create a new Deploy project from an existing GitHub repo, go through our learning tutorials via playgrounds, or go directly to your dashboard.
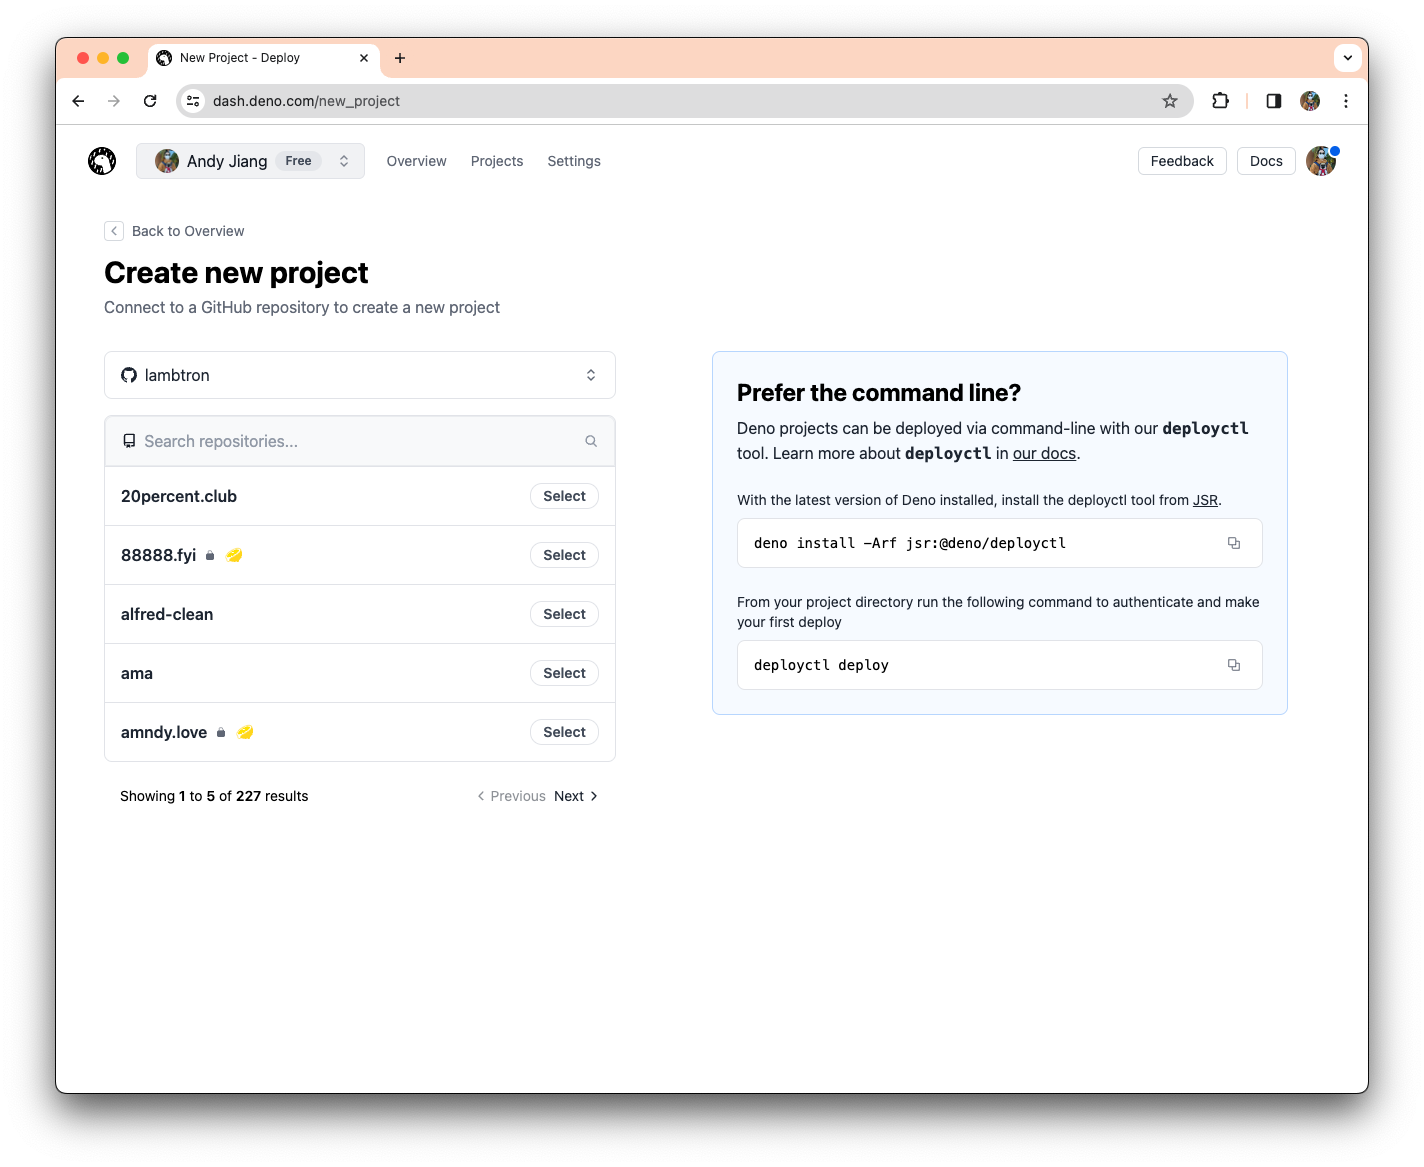
Let’s create a new Deploy project from an existing GitHub repo, so we’ll click
on “I have an existing project”. The next screen allows you to connect to an
existing GitHub project, as well as offer the option to deploy from the command
line using deployctl .
Let’s filter for our project, “my-fresh-app”, and select it. Note the 🍋 icon beside the project means Deno Deploy has detected that repo to be a Fresh project. Once you’ve selected your project, additional configuration fields will appear below.

Since Deno Deploy detected my project is using the Fresh framework, it
automatically selected the Fresh (Automatic) framework preset. These
configuration steps are tailored to your project — specifically, what framework
it uses — streamlining the setup process.
Adding an optional build step
Previously, if you wanted to add a build step to your deployment process to Deno
Deploy, you would have to manually add a GitHub Action .yml file to your
.github/workflows/ directory. With this update, if your project needs a build
step, Deno Deploy will commit that GitHub Action file to your repo
automatically. Let’s take a look at our Fresh example.
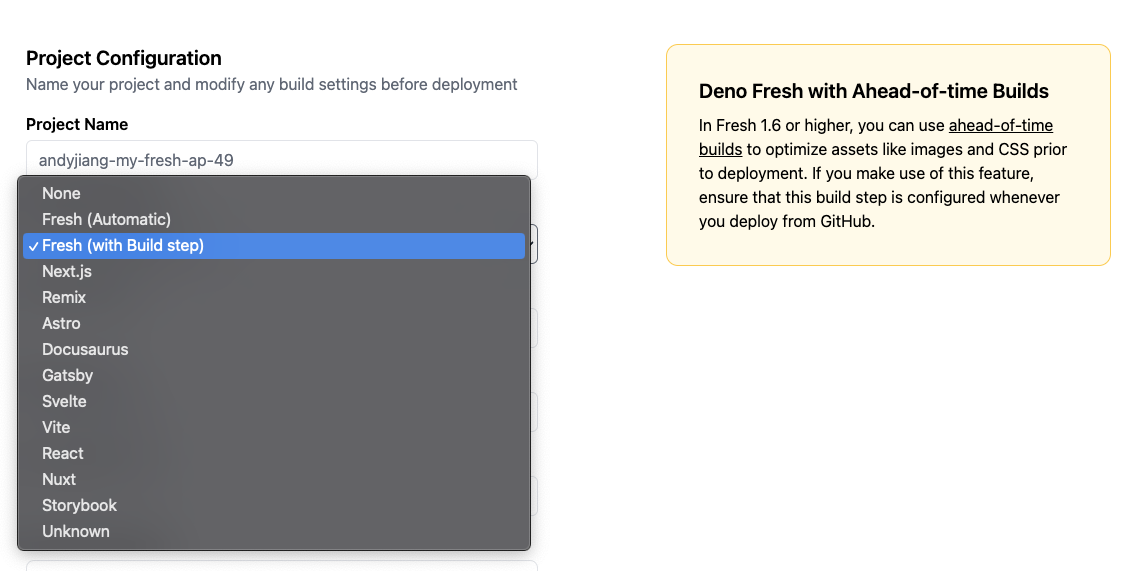
As of Fresh 1.6, you have the ability to optimize performance with
Ahead-of-time builds,
which require a build step. If we look at the dropdown, we have the option to
select Fresh (with Build step).
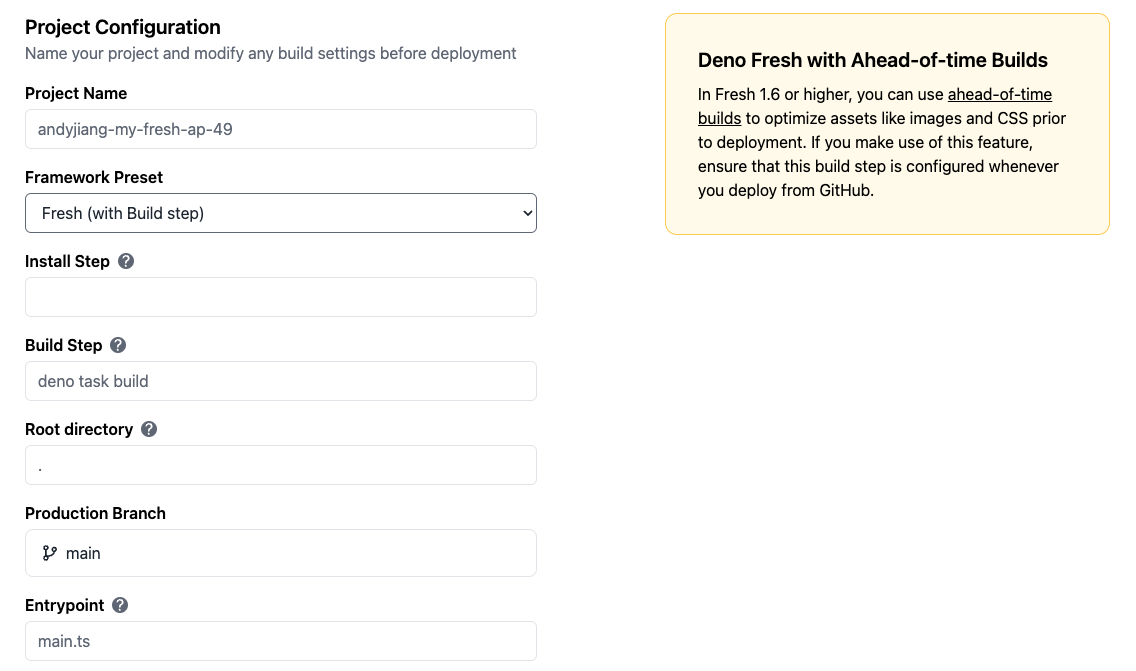
Selecting Fresh (with Build step) will pre-fill the advanced configuration
fields with the necessary commands Fresh needs to use Ahead-of-time builds:
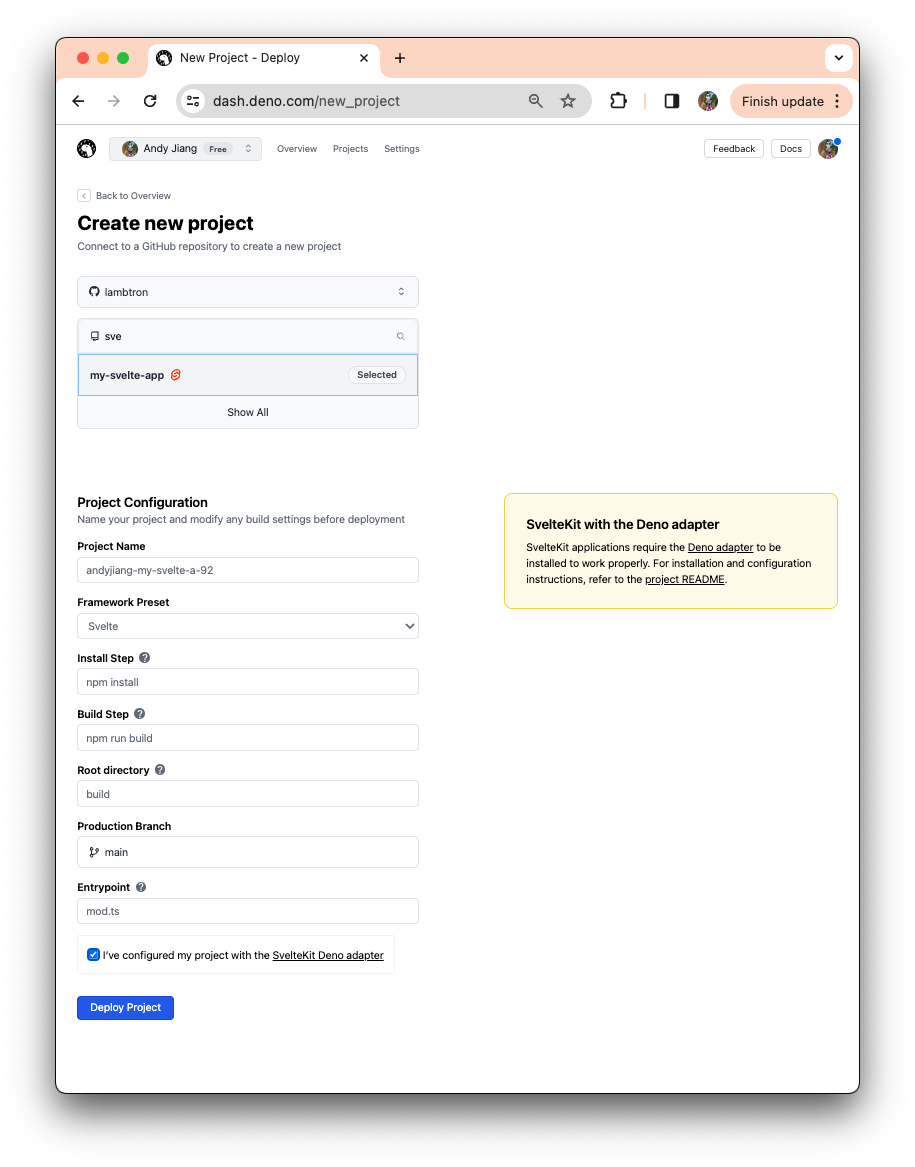
To see what other configuration presets look like, here’s an example of a Svelte app. Note the Svelte icon beside the repo name, which indicates a Svelte app was detected.
This updated project creation flow makes it easier to connect and deploy any
GitHub repo — whether it needs a build step or not — and seamlessly integrate
that into your git flow. Then, next time you merge to your main branch, and
your project will automatically deploy to Deno Deploy. You’ve setup CI/CD in
just a few clicks!
More transparent build and deploy step
A lot happens behind the scenes when you hit “Deploy” that we previously did not expose in the UI, which made it difficult to surface and diagnose issues. Our new flow now includes more detailed build and deploy steps.
For projects that have build steps, the deployment page will show all the steps required in deploying your project. Let’s take our Fresh (with Build step) example:
During the building process, you can click on “View logs” and be taken directly to your GitHub repo’s Actions section to view more detailed logging from the build.
Viewing logs during the “Deploying” step will show you live streaming logs of your project being deployed to the Deno Deploy infrastructure.
Better success page with resources
Finally, after your project is created, you can check it out live on the web at your very own deno.dev URL. If you’re ready to take things a step further, we’ve made it simpler to level up your newly deployed project by providing shortcuts to jump to settings and add a custom domain or environmental variables.

What’s next
Our new project creation flow with GitHub Actions means you can add a CI/CD build and deploy process to your GitHub repo in just a few clicks. This, along with the onboarding tutorials via Playgrounds will make it easier to started on Deno Deploy.
While we continue to improve the platform, we love your feedback! If there are any feature requests or issues, please let us know here.